Behind the Scenes: How to Write a Children’s book
5 steps to consider when writing
If you are like me, you never quite understand how artists think. How do they know which line to draw first, or even where to put the line? Or maybe even what part of an image is meant to draw the viewer’s attention compared to the images that play a supporting role.
I don’t understand how to draw illustrations.
I do, however, have some ideas about writing. Looking at a blank page that one hopes to fill with words can be just as overwhelming or confusing as looking at a blank page and hoping to create a picture. My goal here today is to let you into the mind of a writer.
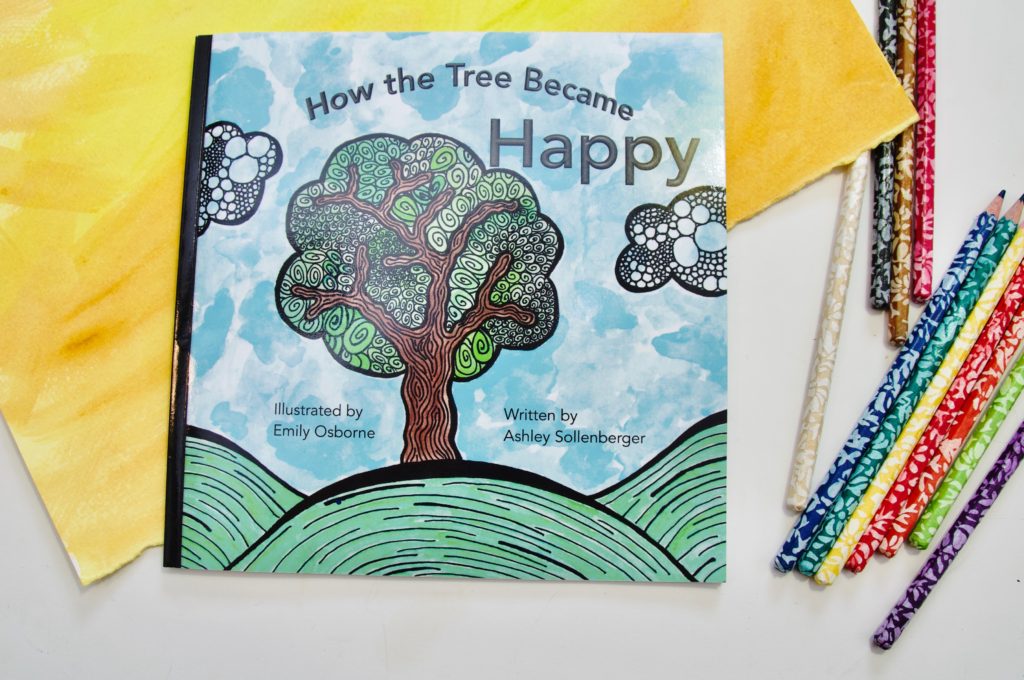
My name is Ashley Sollenberger, and I’ve written one published book, entitled: How the Tree Became Happy.
I have two other books that are currently in the illustration process. Beyond that, I have a host of completed and partially completed manuscripts along with phrases or ideas that are simply waiting for my attention.
Today, we are not going to look at where ideas come from, but rather how I turn my ideas into a story.
The book, How the Tree Became Happy did not finish the way it started. Originally, the story was about a little tree that was disappointed since none of the neighborhood animals paid it any attention. I wrote this story from beginning to end.
Step 1: Write the story as it forms internally.
At this stage, I pay little attention to grammar or even punctuation. Taking the time to add quotation marks and he said, she said, to each line drives me nuts. All that can be added later.
Simply writing allows the idea to develop and forces me to work through gaps in the story. At this stage I often finish a line and think “that is terrible” but I soldier on, knowing I can and will go back later.
I will sometimes work with an outline.
I employ a bit of an unusual outline. I draw a curvy line on a piece of paper and at various intervals along the line, I mark an x, and add a brief word or phrase that describes an action. As I write, I attempt to link these actions and events together. It’s a bit like a treasure map.
Once I finish a draft, I read it, then leave it. Sometimes for a day or two, but occasionally longer (months). It is at this stage that the story marinates in my head. I also find it helpful to deliberately think of the story prior to going to sleep. I will then often wake in the morning with thoughts or ideas that markedly improve the story.

Step 2: Find some kids!
I read it to my kids, and attempt to watch their reactions. What comments do they make, does it hold their attention? This is a great way to find out if the story makes sense, or if it’s still confusing on paper ,while vivid in my brain. If the kids make bazar comments, or question areas I think are clear, then I know I have work to do.
Step 3: Check my ego.
After thinking and getting some feedback it’s time to face reality. I’m the only person who thinks the story is good. BUT, there are some good parts, or themes. At this point I open a new document and do some serious cut and paste work. I always keep the original just in case my second or third draft goes astray. The first draft is the baseline. Keep it.
Step 4: Bring in new ideas.
I’ve read the story many times, out loud to myself and others. I’ve let my mind think, and I’ve requested feedback. Now I start to draw new ideas into the story. Often this entails rewriting major sections, clarifying ideas, and enhancing or diminishing characters. By this point the story often is only distantly related to the original. But it is growing, improving, becoming sharper, work choice is conscience.
Step 5: Refine
I now start to work with the illustrator. The story is mostly set, but word choice and some sentence structure is still open to revision. Sometimes an illustration turns out a certain way that I will then make some wording changes to better match the picture. Be open. It’s no longer just my story now. The illustrator is also taking ownership and good collaboration is the best path to an exciting finished product.
Check out How the Tree Became Happy
Now Keep Reading to Learn How Artists Make Pictures.
Art Teacher Sarah Krajewski did a special reading of the book and created a fun art lesson to go with it.
