How to Illustrate a Children’s book?
If you enjoy drawing, making images, or even looking at children’s books, it’s probably crossed your mind at least once, that it would be fun to create a book of your own, but then you realize all of the things that you would need to learn in order to make this happen, and move onto a new daydream.
When I started working on the illustrations for the first book that I did with my brother, How the Bear Met the Bee, I had many of the same feelings, and in fact, I started and stopped working on the project many times. I also started over A LOT.
Now that I’ve illustrated a few books, I have a pretty solid system. So, let’s learn how to illustrate a children’s book.
Step 1: Determine the page breaks.
Whether you wrote the story or you’re illustrating a story that someone else wrote, you need to determine where the text breaks for each spread.
2 indicators that I look for when determining spreads.
- Look for nature breaks, where does a thought or sentence end?
- Where is a place that causes pause, but also will make the reader want to turn the page to find out what happens next?
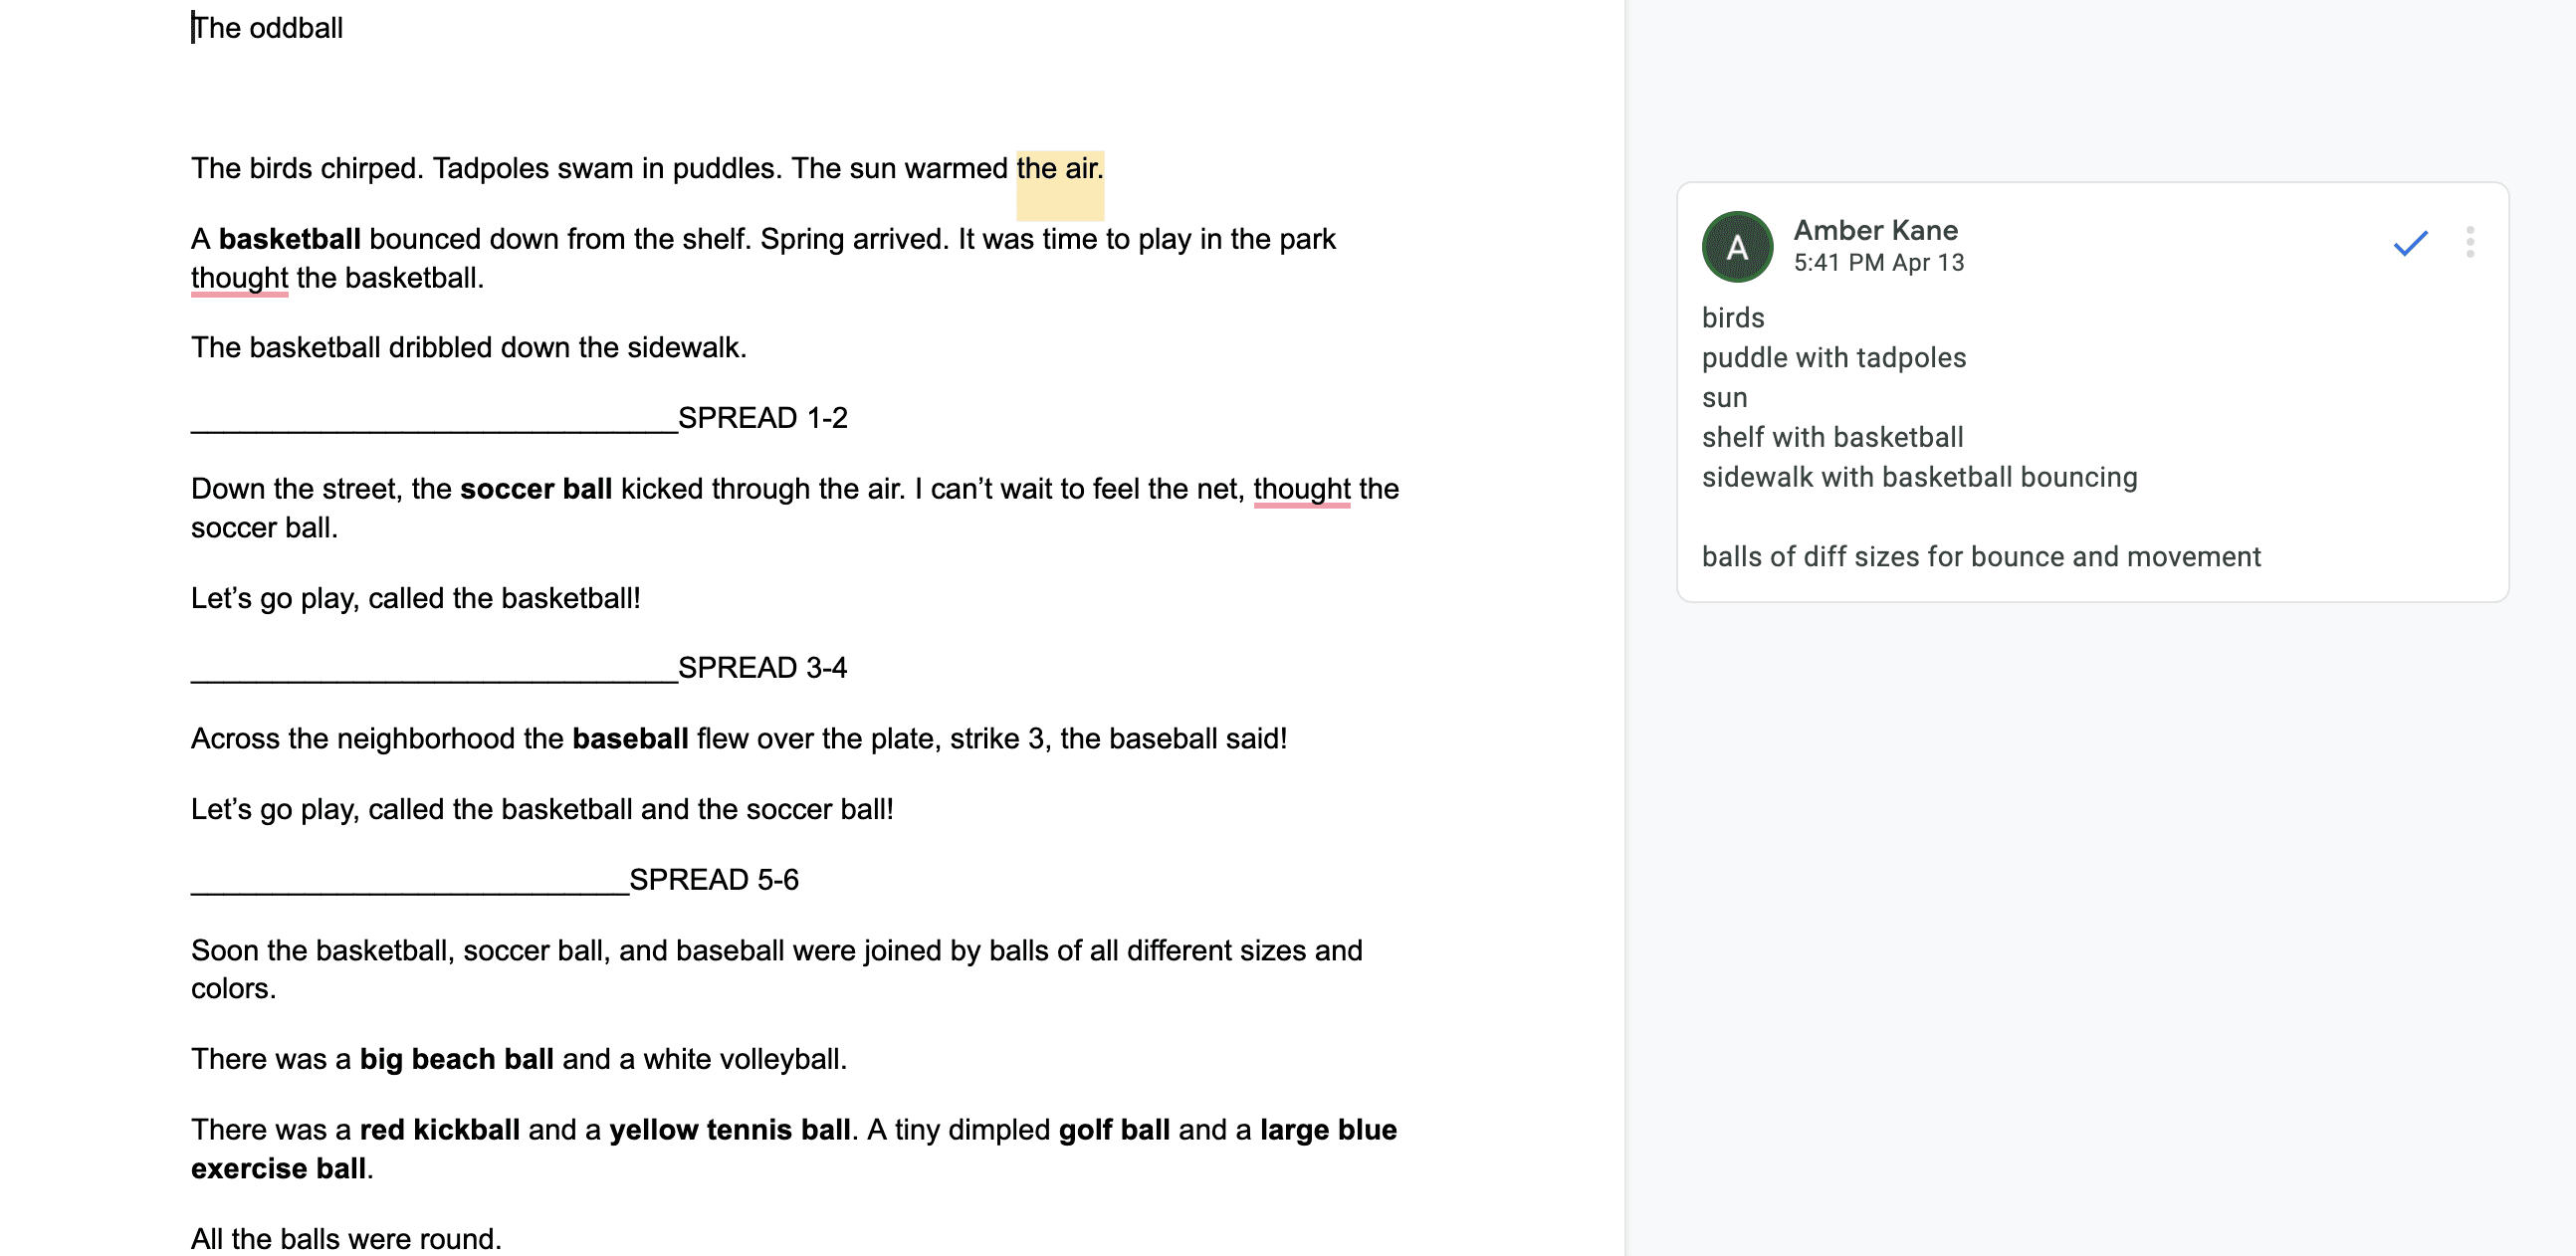
In the first draft of The Oddball, you can see that I’m starting to indicate breaks, and making notes of image ideas that come to mind along the way.
Step 2: Draft the images
Once you have an idea of what text goes on each spread, you’ll need to determine what images you’re going to create.
- What are key characters or objects?
- Are there important colors, lines, or shapes?
- Do you need to set the scene?
- What do you want to show and what do you want the child to imagine?
I don’t draw every word, as I want there to be empty space on the page, and I want each child to be able to bring their imagination to the story.
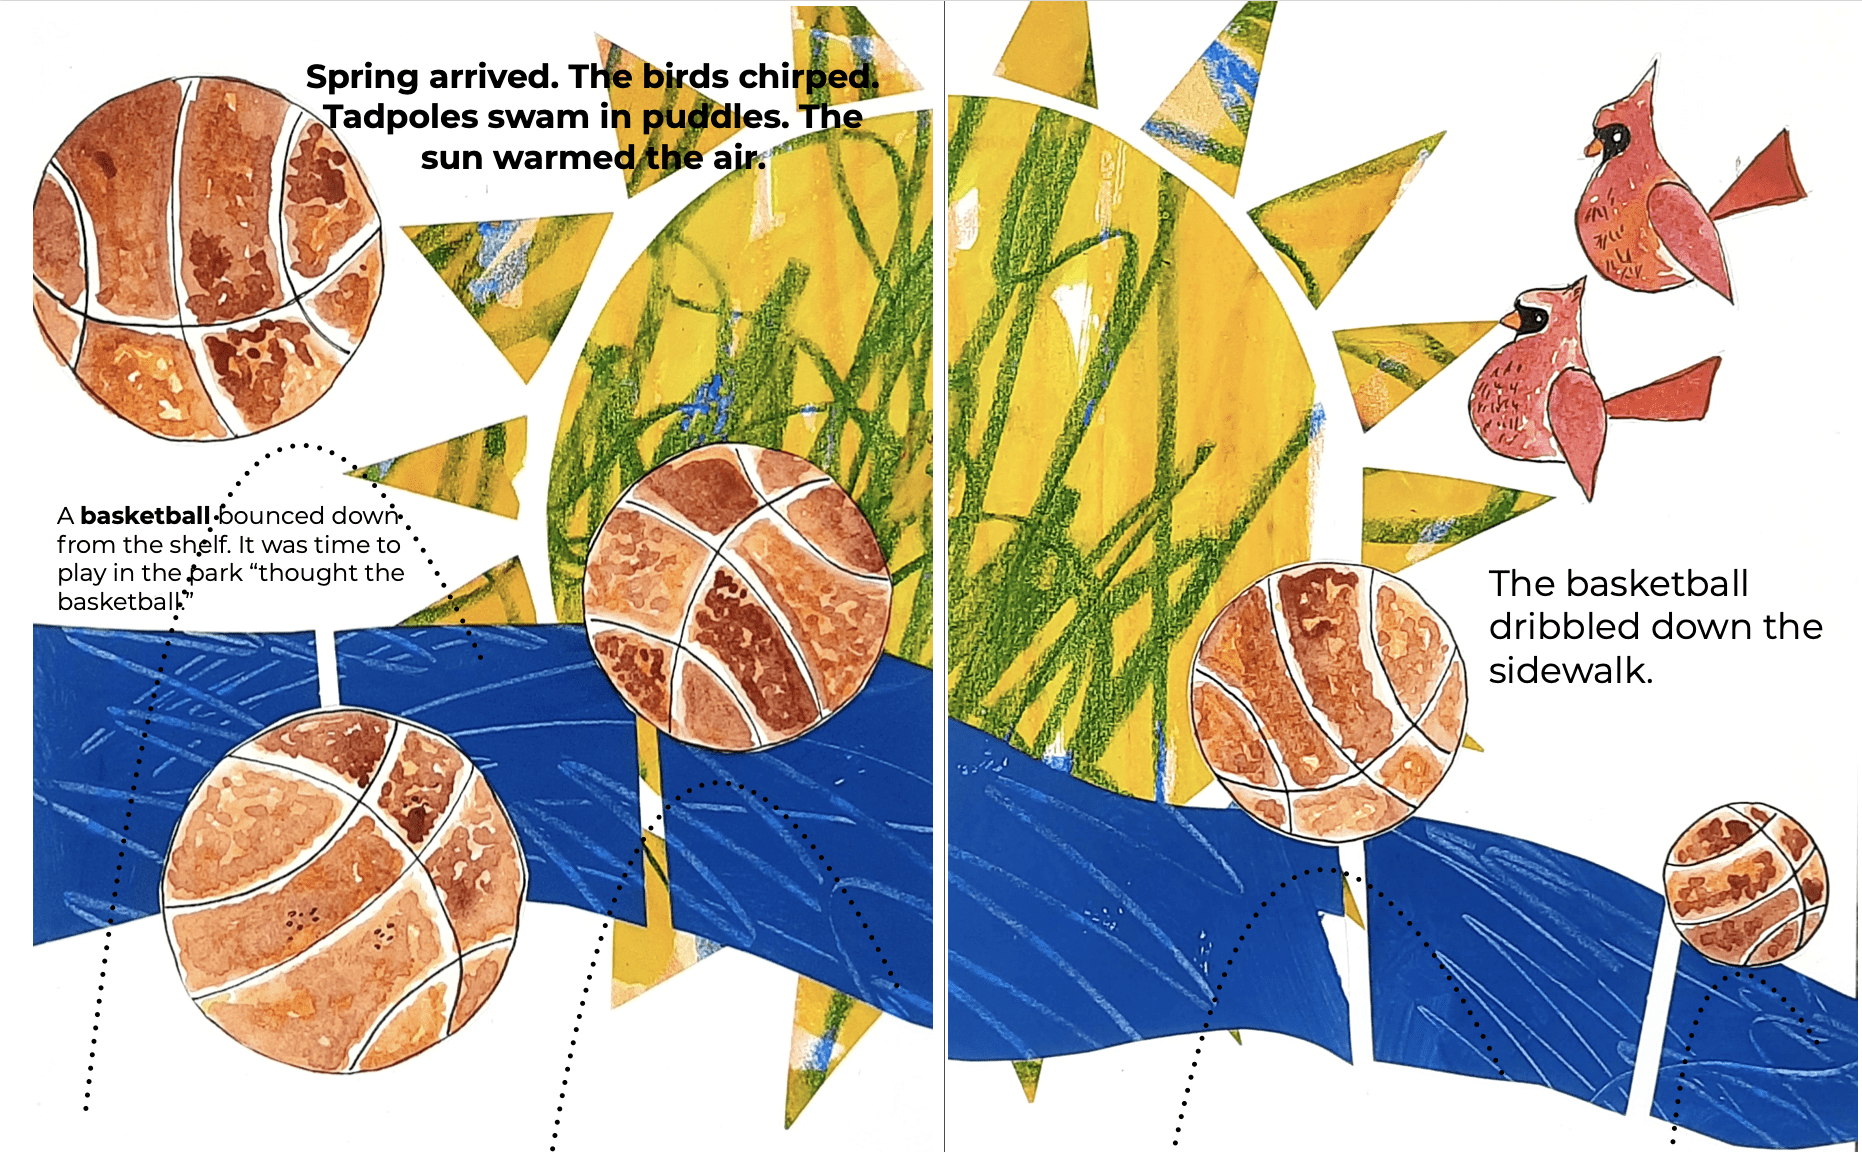
Spread 1: Let’s look at what I left out
- There are no tadpoles pictured
- There is no shelf ( the ball falling from the shelf is implied)
- The blue/grey path is both the sidewalk and makes you think of the puddles mentioned
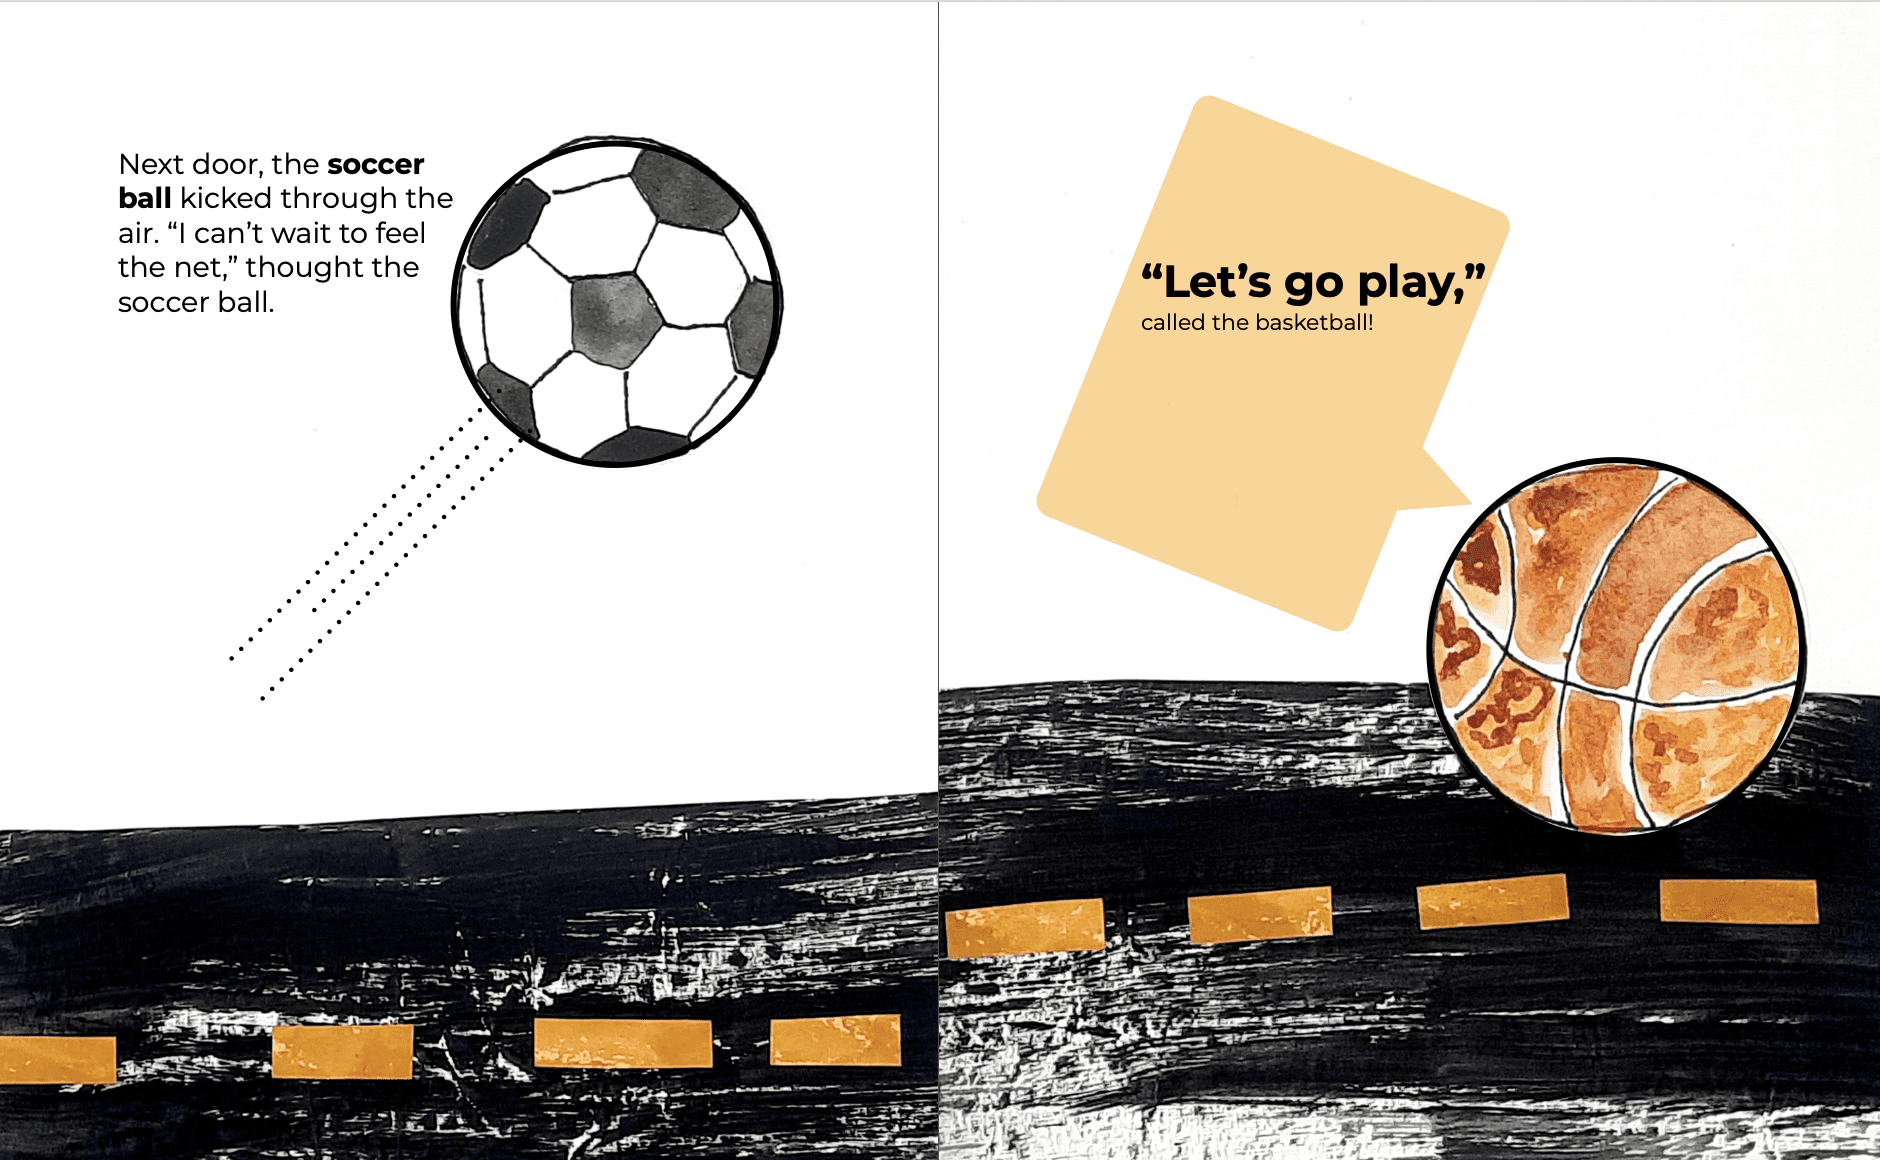
Here’s another example
- There is no net (that’s in the soccer ball’s imagination)
- Kicking is mentioned, but we don’t see a foot, we just see movement lines, this also helps to bring the soccer ball to life
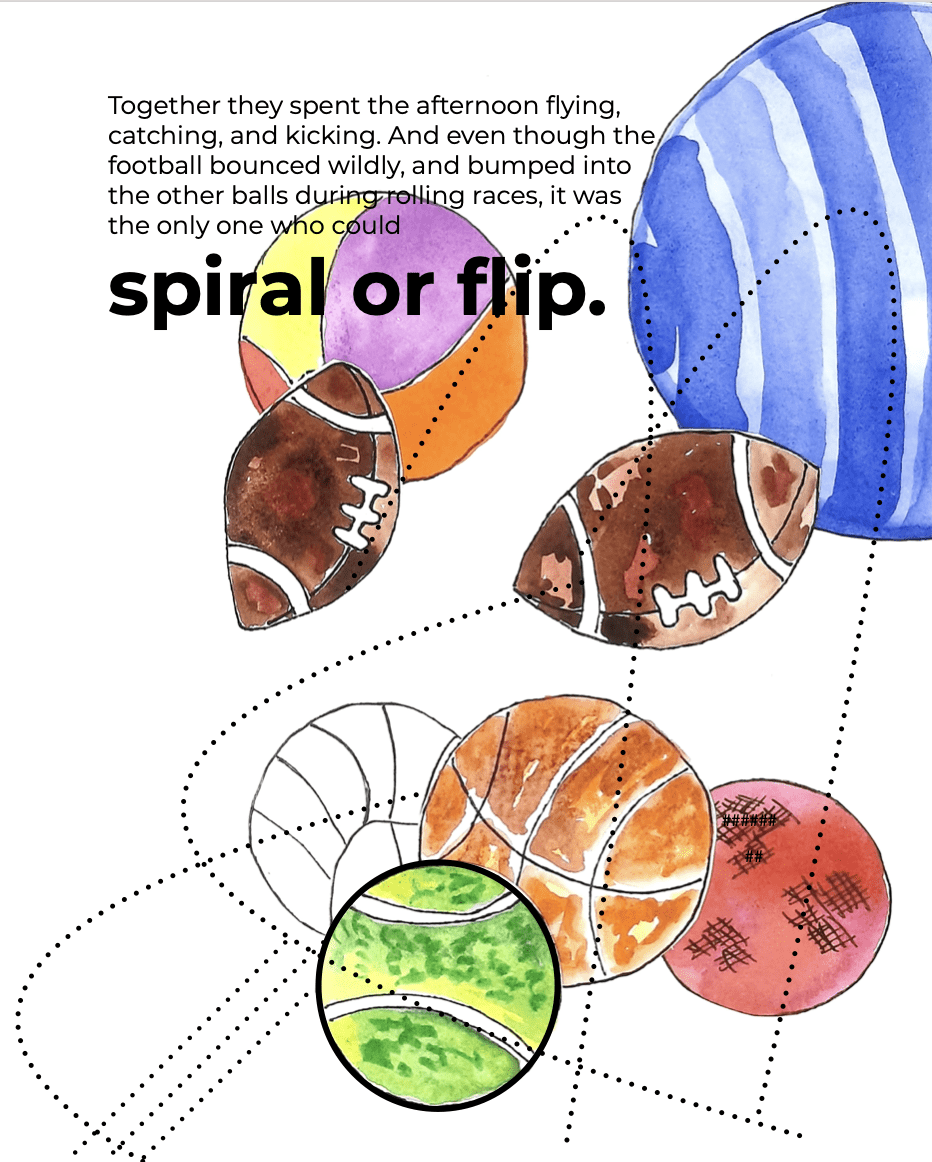
The focus of all of the illustrations is the various types of balls. All of the other information is minimal. There are some lines to convey movement, chat bubbles, and a few other hints to set the scene for the ball’s adventures. Don’t get stuck feeling like you have to illustrate every word. You’re illustrating the overall story.
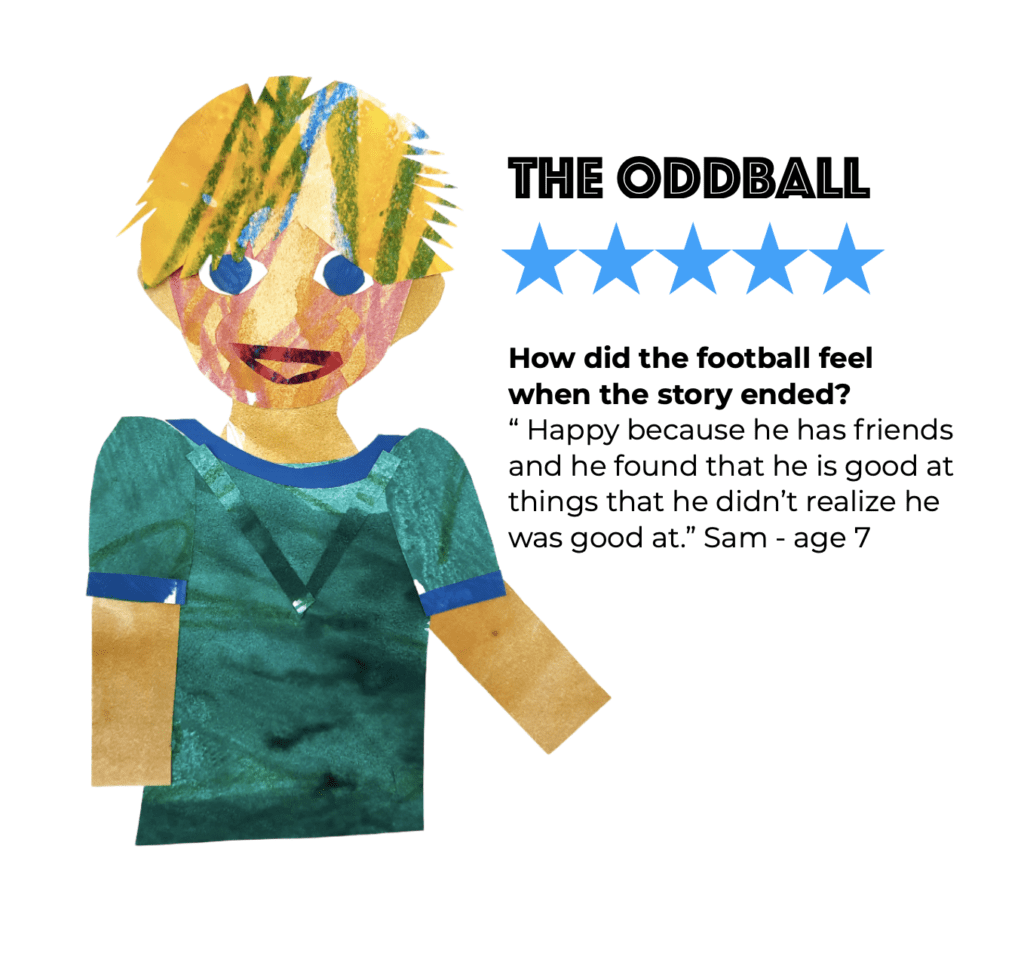
Step 3: Once you have ideas about how you want your images to look, you need to make them. There is no one right way to create images. You should use materials and processes that you enjoy, and that connects well to the idea of the book. I almost always do some element of collage as that’s how I like to plan images. I make a lot of parts and then build and add as I go.
Important things to know BEFORE making your images:
- What size will the book be? Make sure that the size of your images matches.
- How will you get your images into the book format? Ie: will you photograph, scan, or do you need to create them digitally?
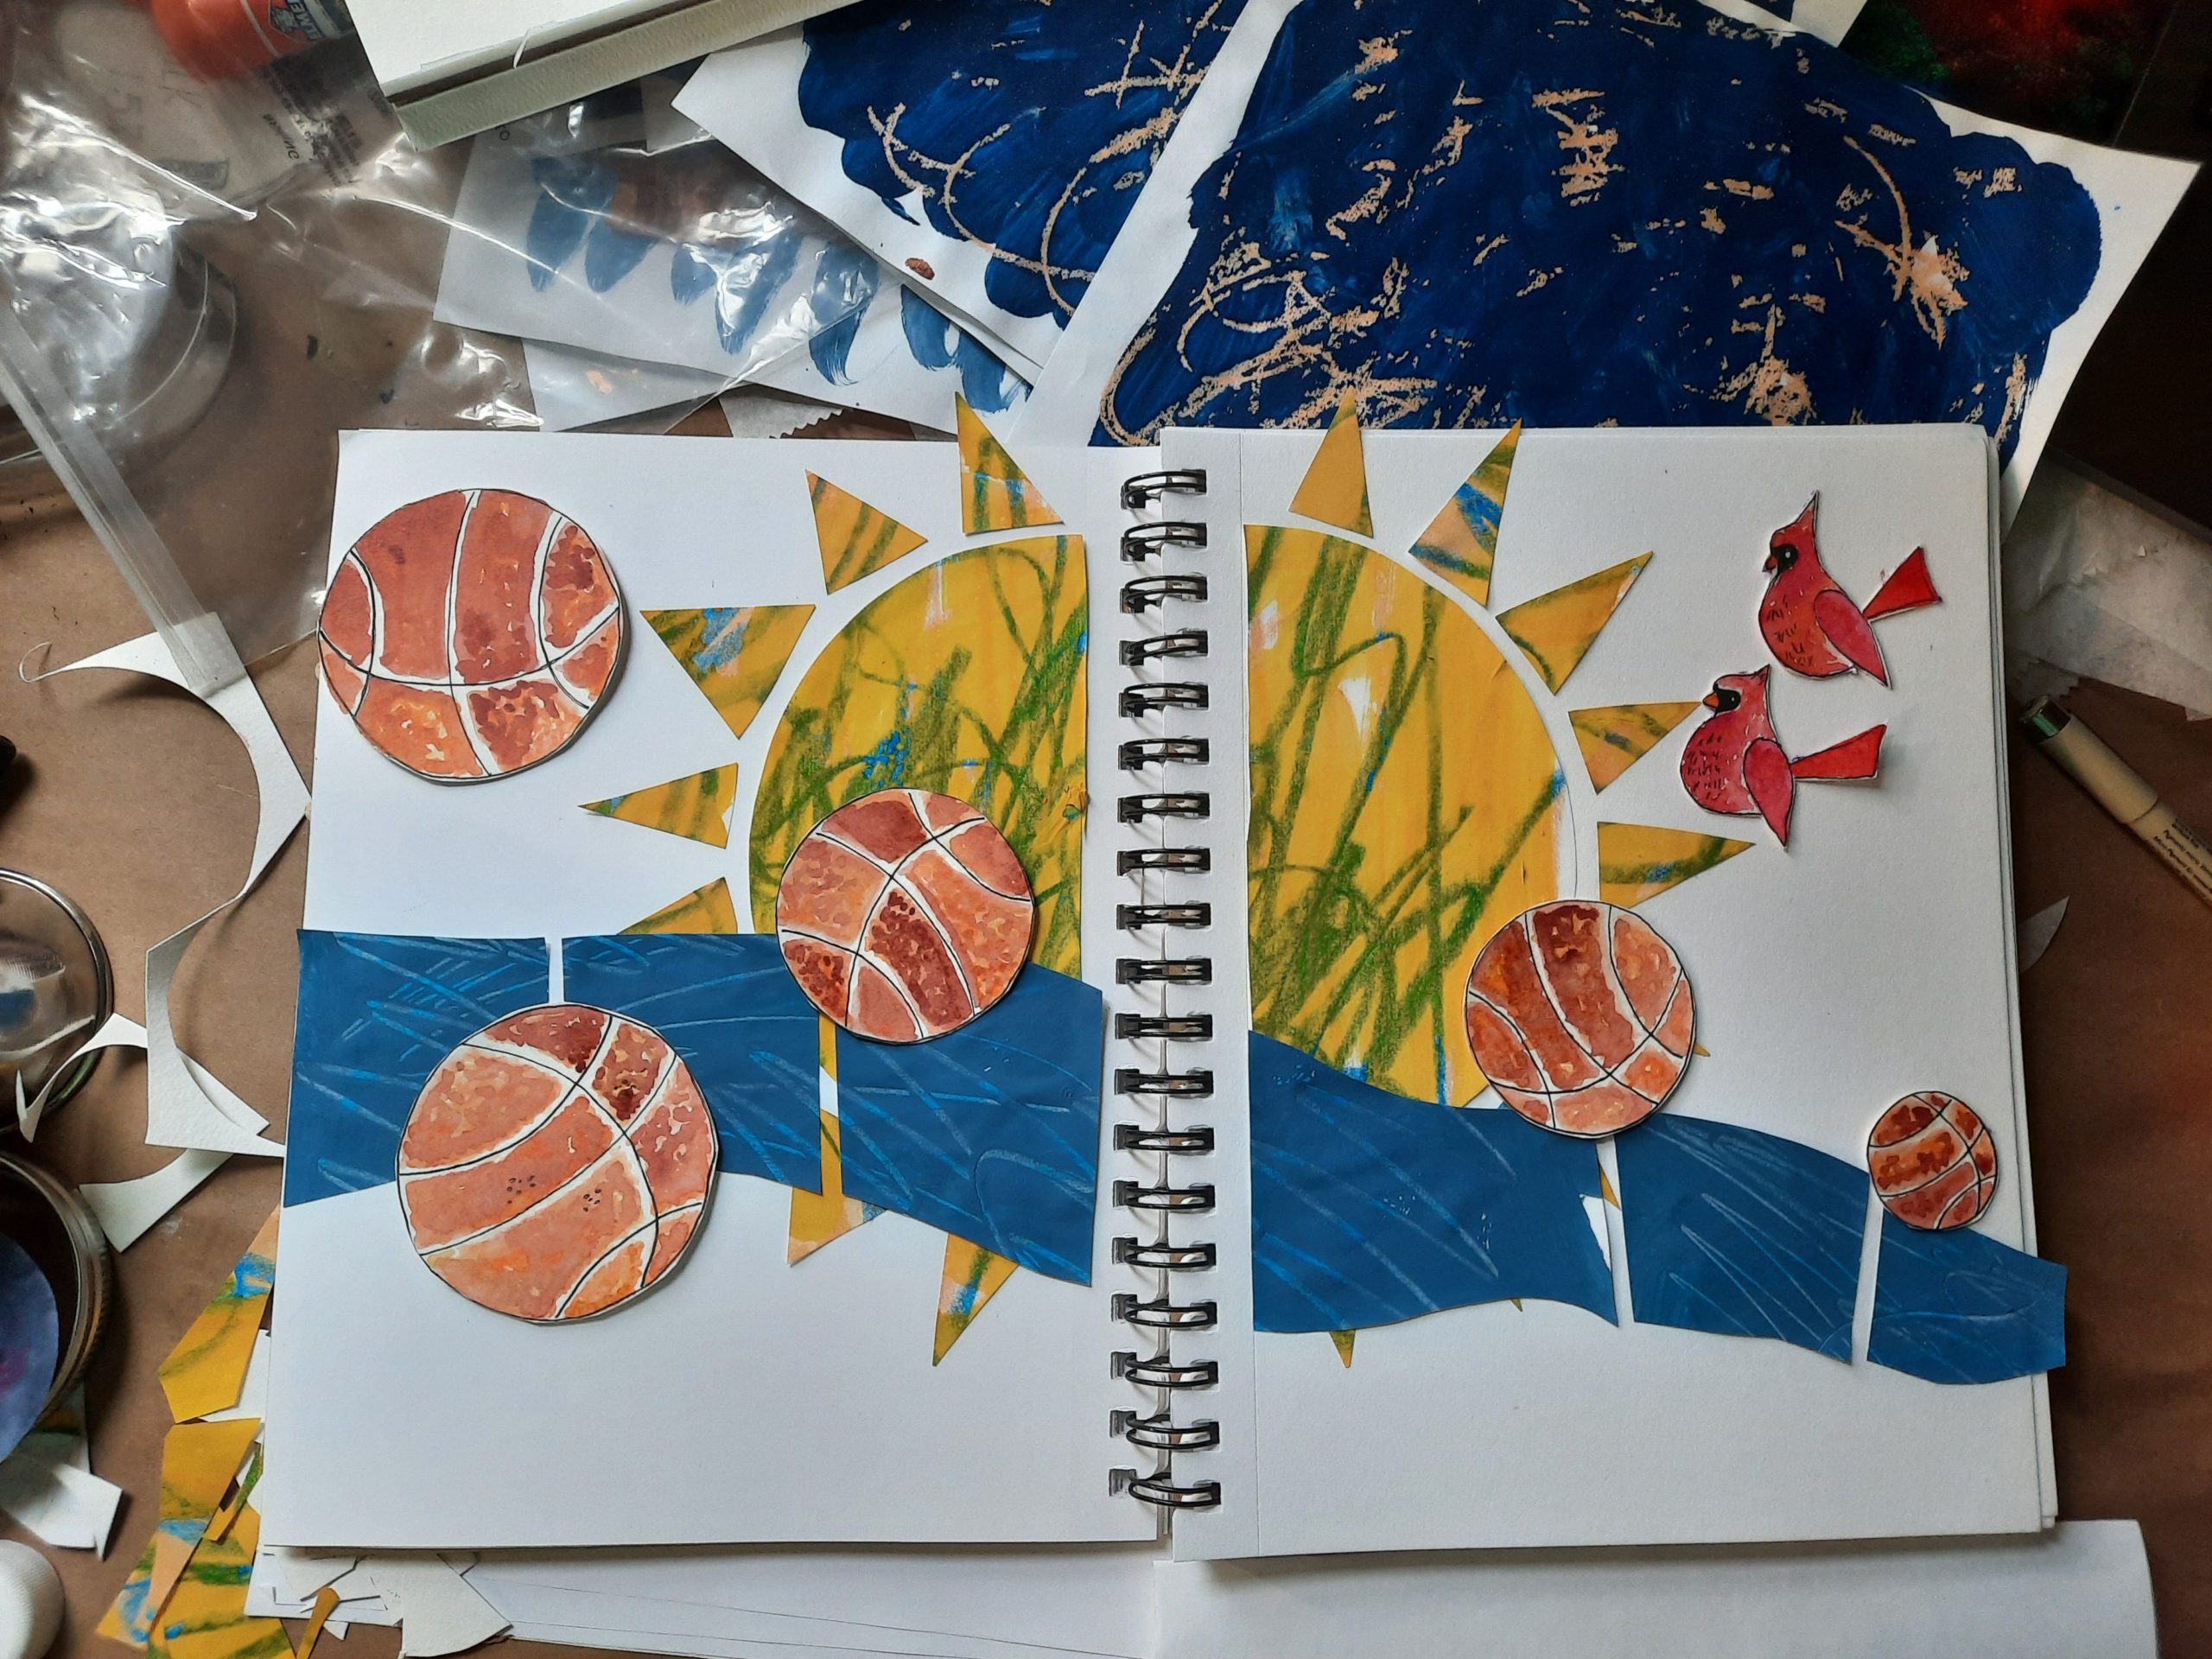
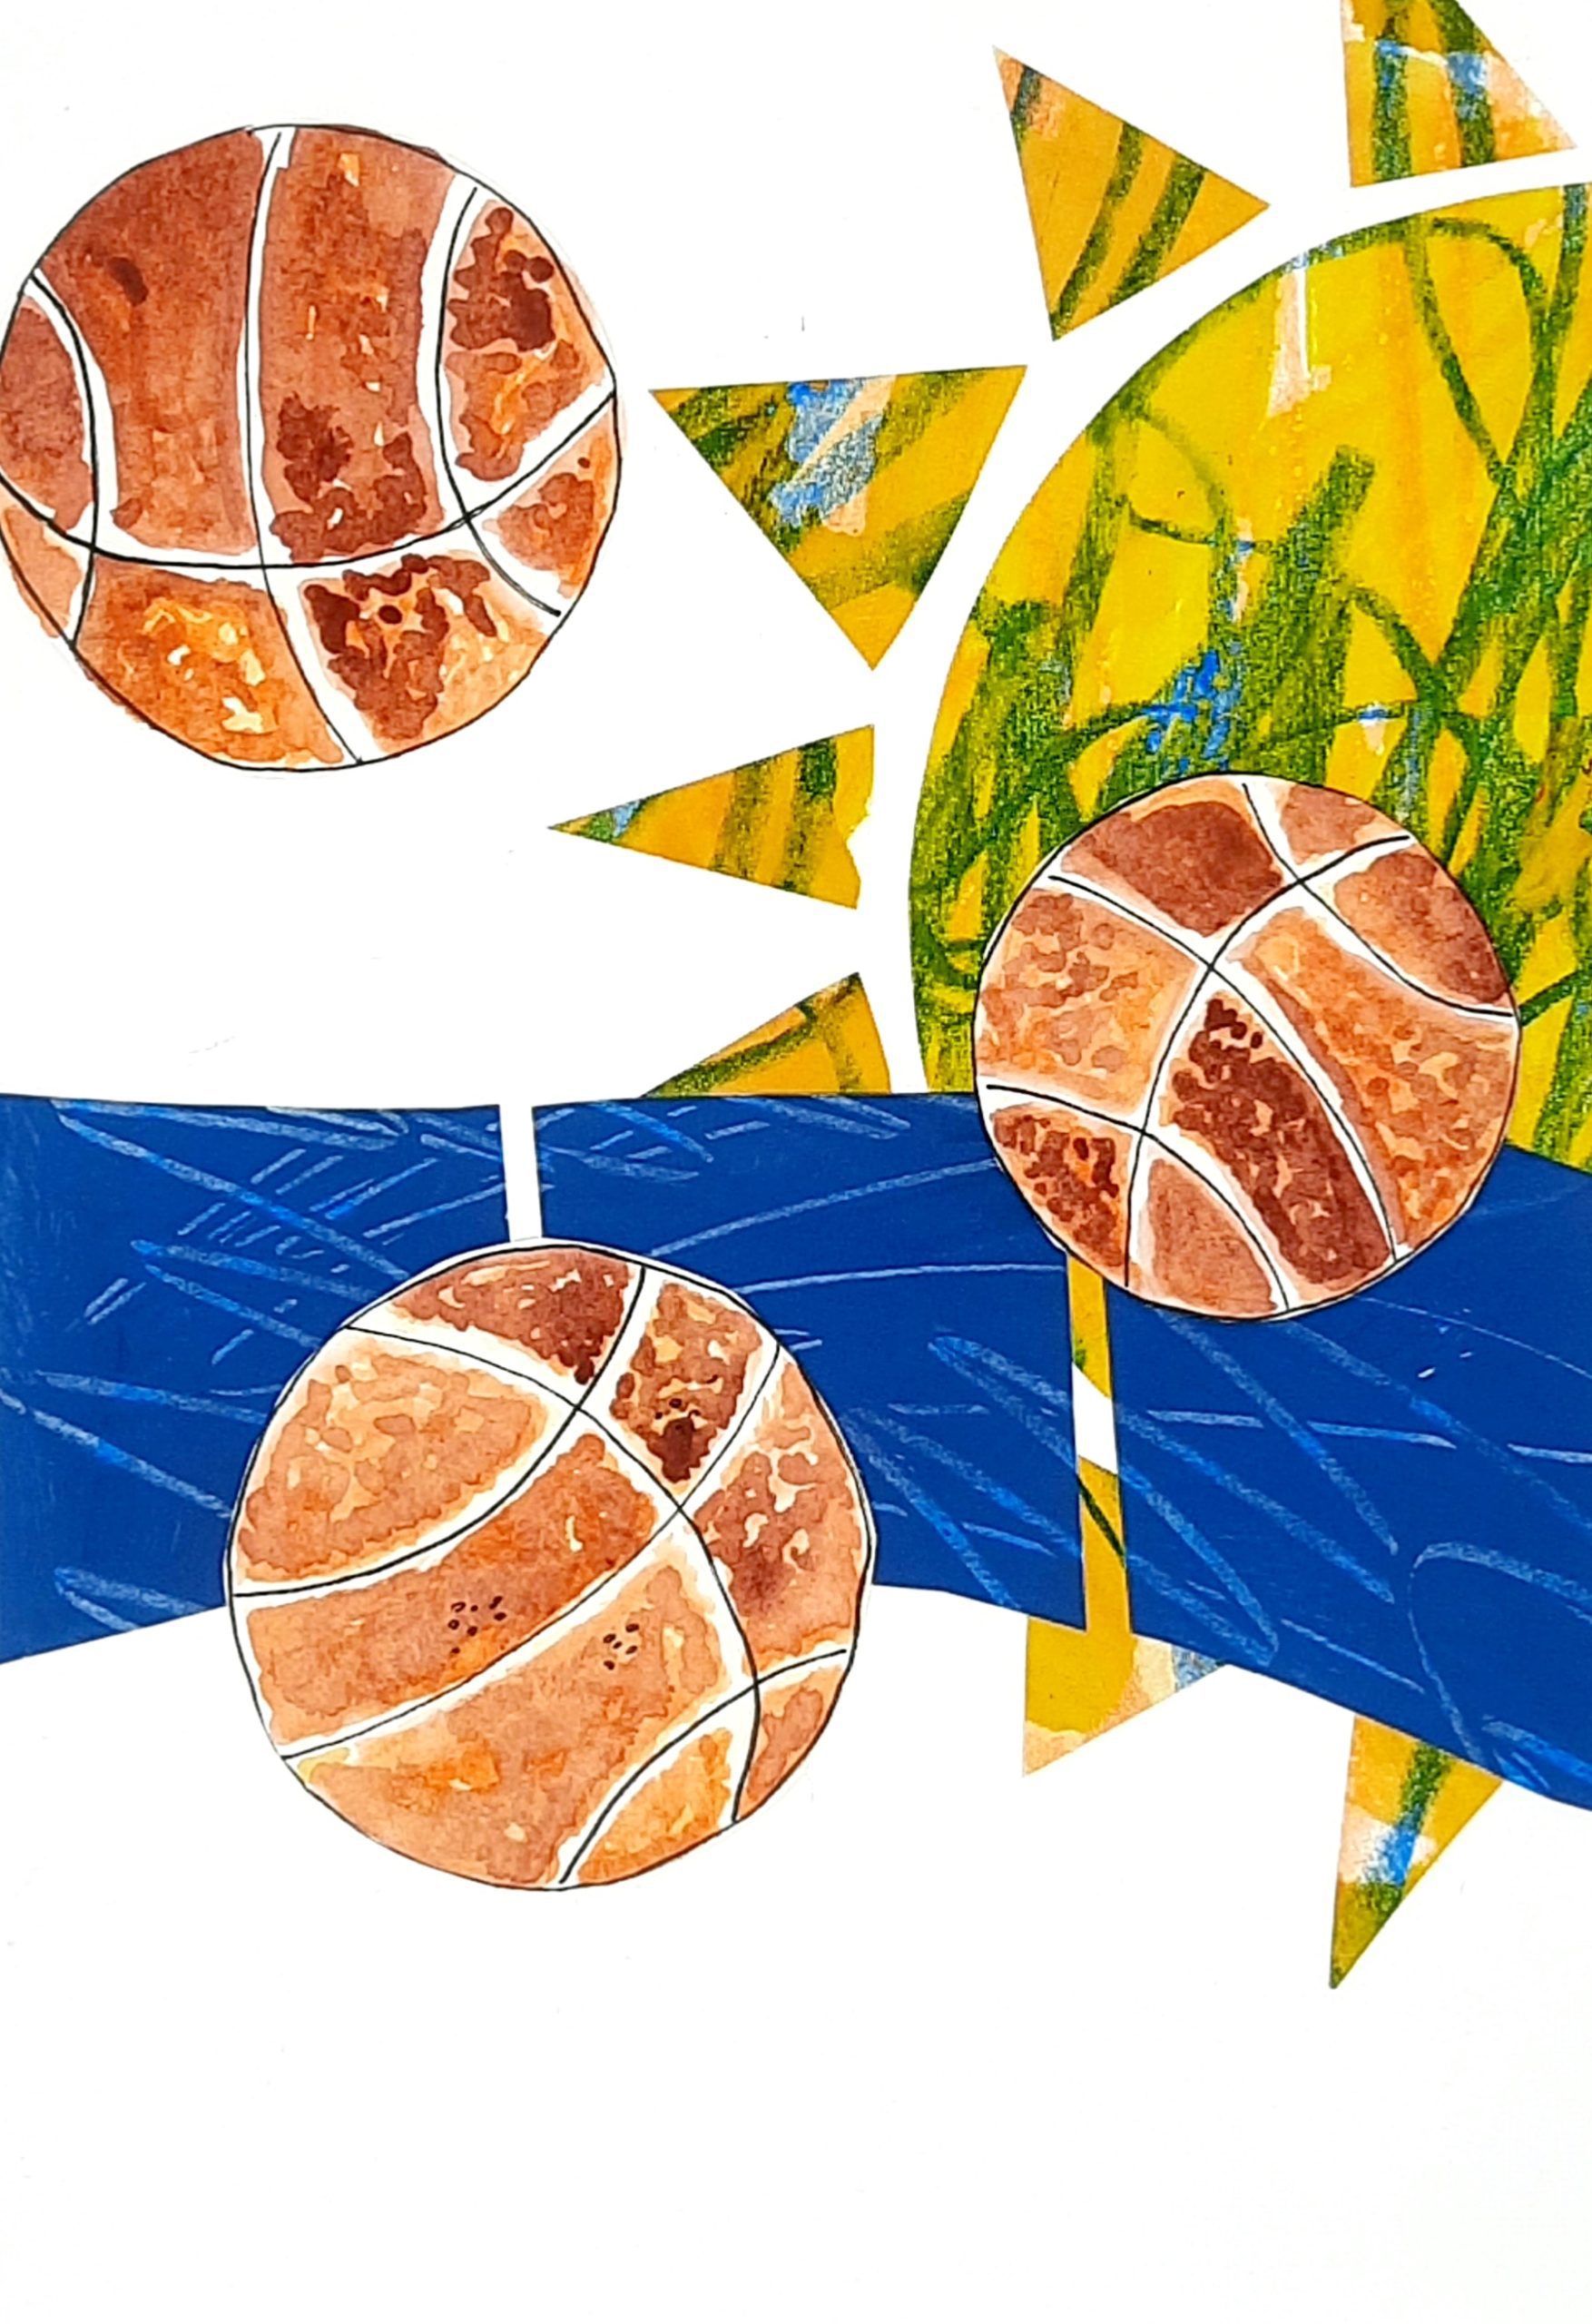
To get started, I painted A LOT of all the different types of sports balls mentioned in the book. After they were painted and cut out, then I started to cut other shapes from painted paper and started to layout each spread. Once I’m happy with how things look, I glue all of the elements to the page.
Step 4: Photograph and add digital elements
After I have the images built, they’re photographed, edited, and imported to pages. Once in pages, I start to layout the text and add digital details, like the lines that imply movement.
Step 5: Finalize the text
You may choose to leave all of your text the same, but I enjoy adjusting the size as well as making some of the words bold to create emphasis and help kids as they learn to read.
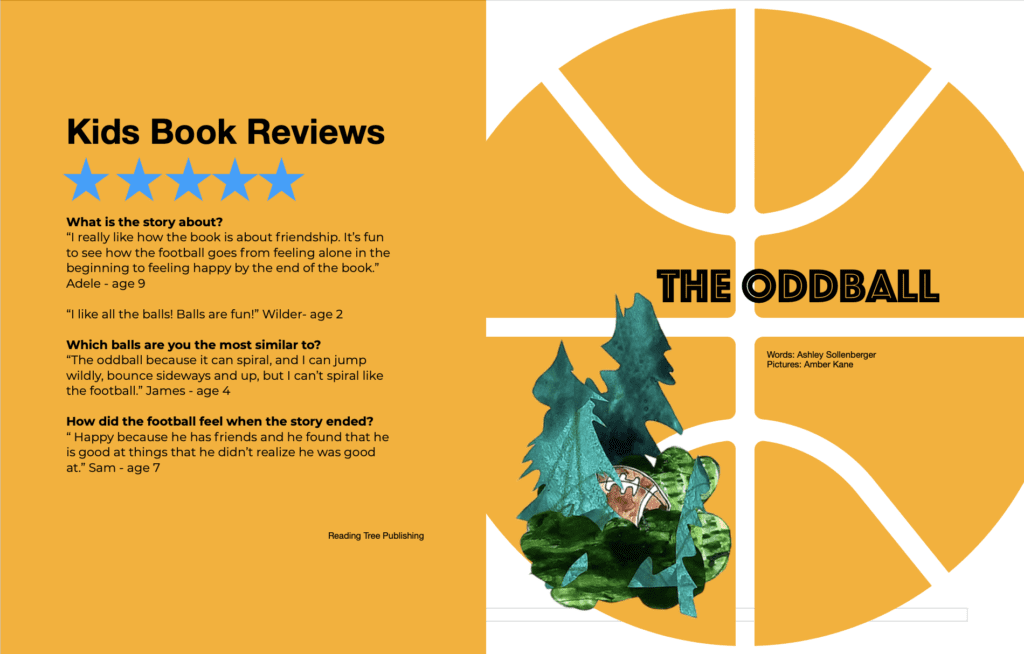
Tools used to illustrate The Oddball:
- Watercolor and watercolor paper for balls
- painted paper ( acrylic and watercolor paint on various papers)
- glue sticks
- mixed media paper to build the images
- phone to photograph + a lightbox
- pages to layout the images and text in a book format
- photoroom.com to remove the background of some images
- amazon kdp to upload and publish