The inspiration behind the image
Analog to Digital
How do the images end up in the book?
Each time that we do a book reading, this question emerges, usually first from a child, but, if you glance around the room, you’ll see the adult’s heads nodding as well. There is a general understanding that the images don’t just end up there, but how they get there seems to be a mystery. We’ve all typed words and then printed them on a page, but, most people, haven’t created an image and seen it appear in print on a page. I’d like to change that.
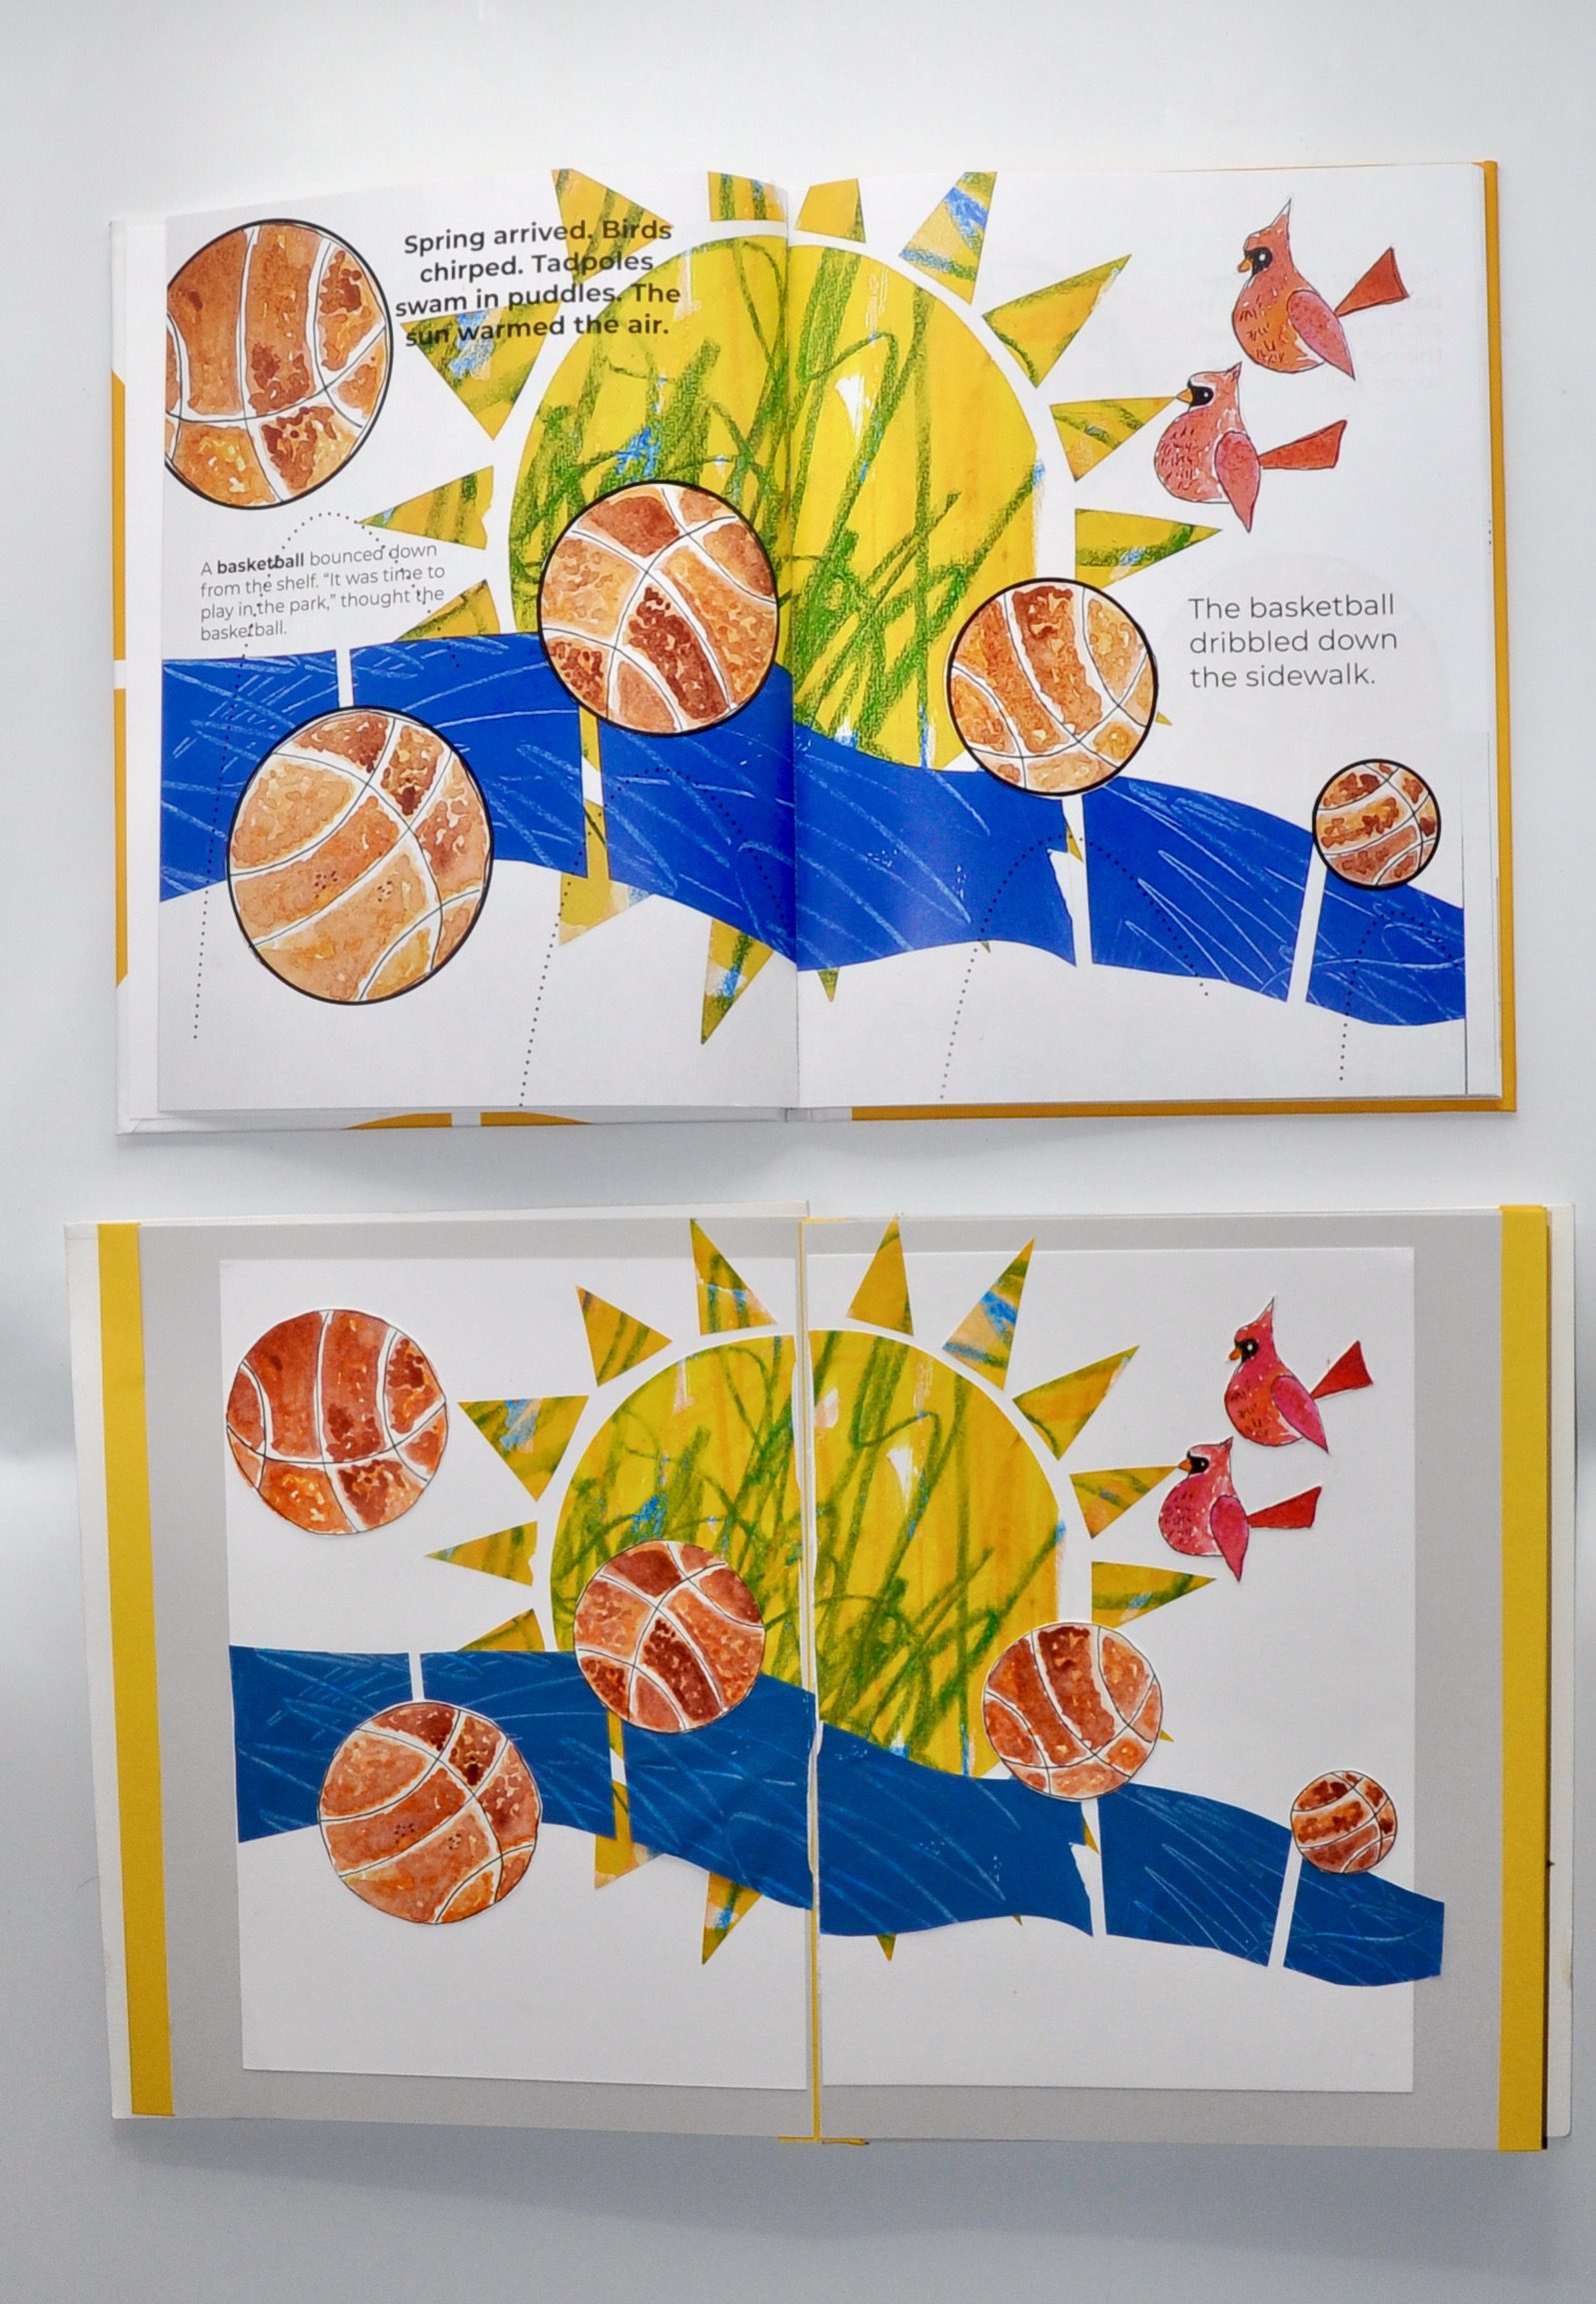
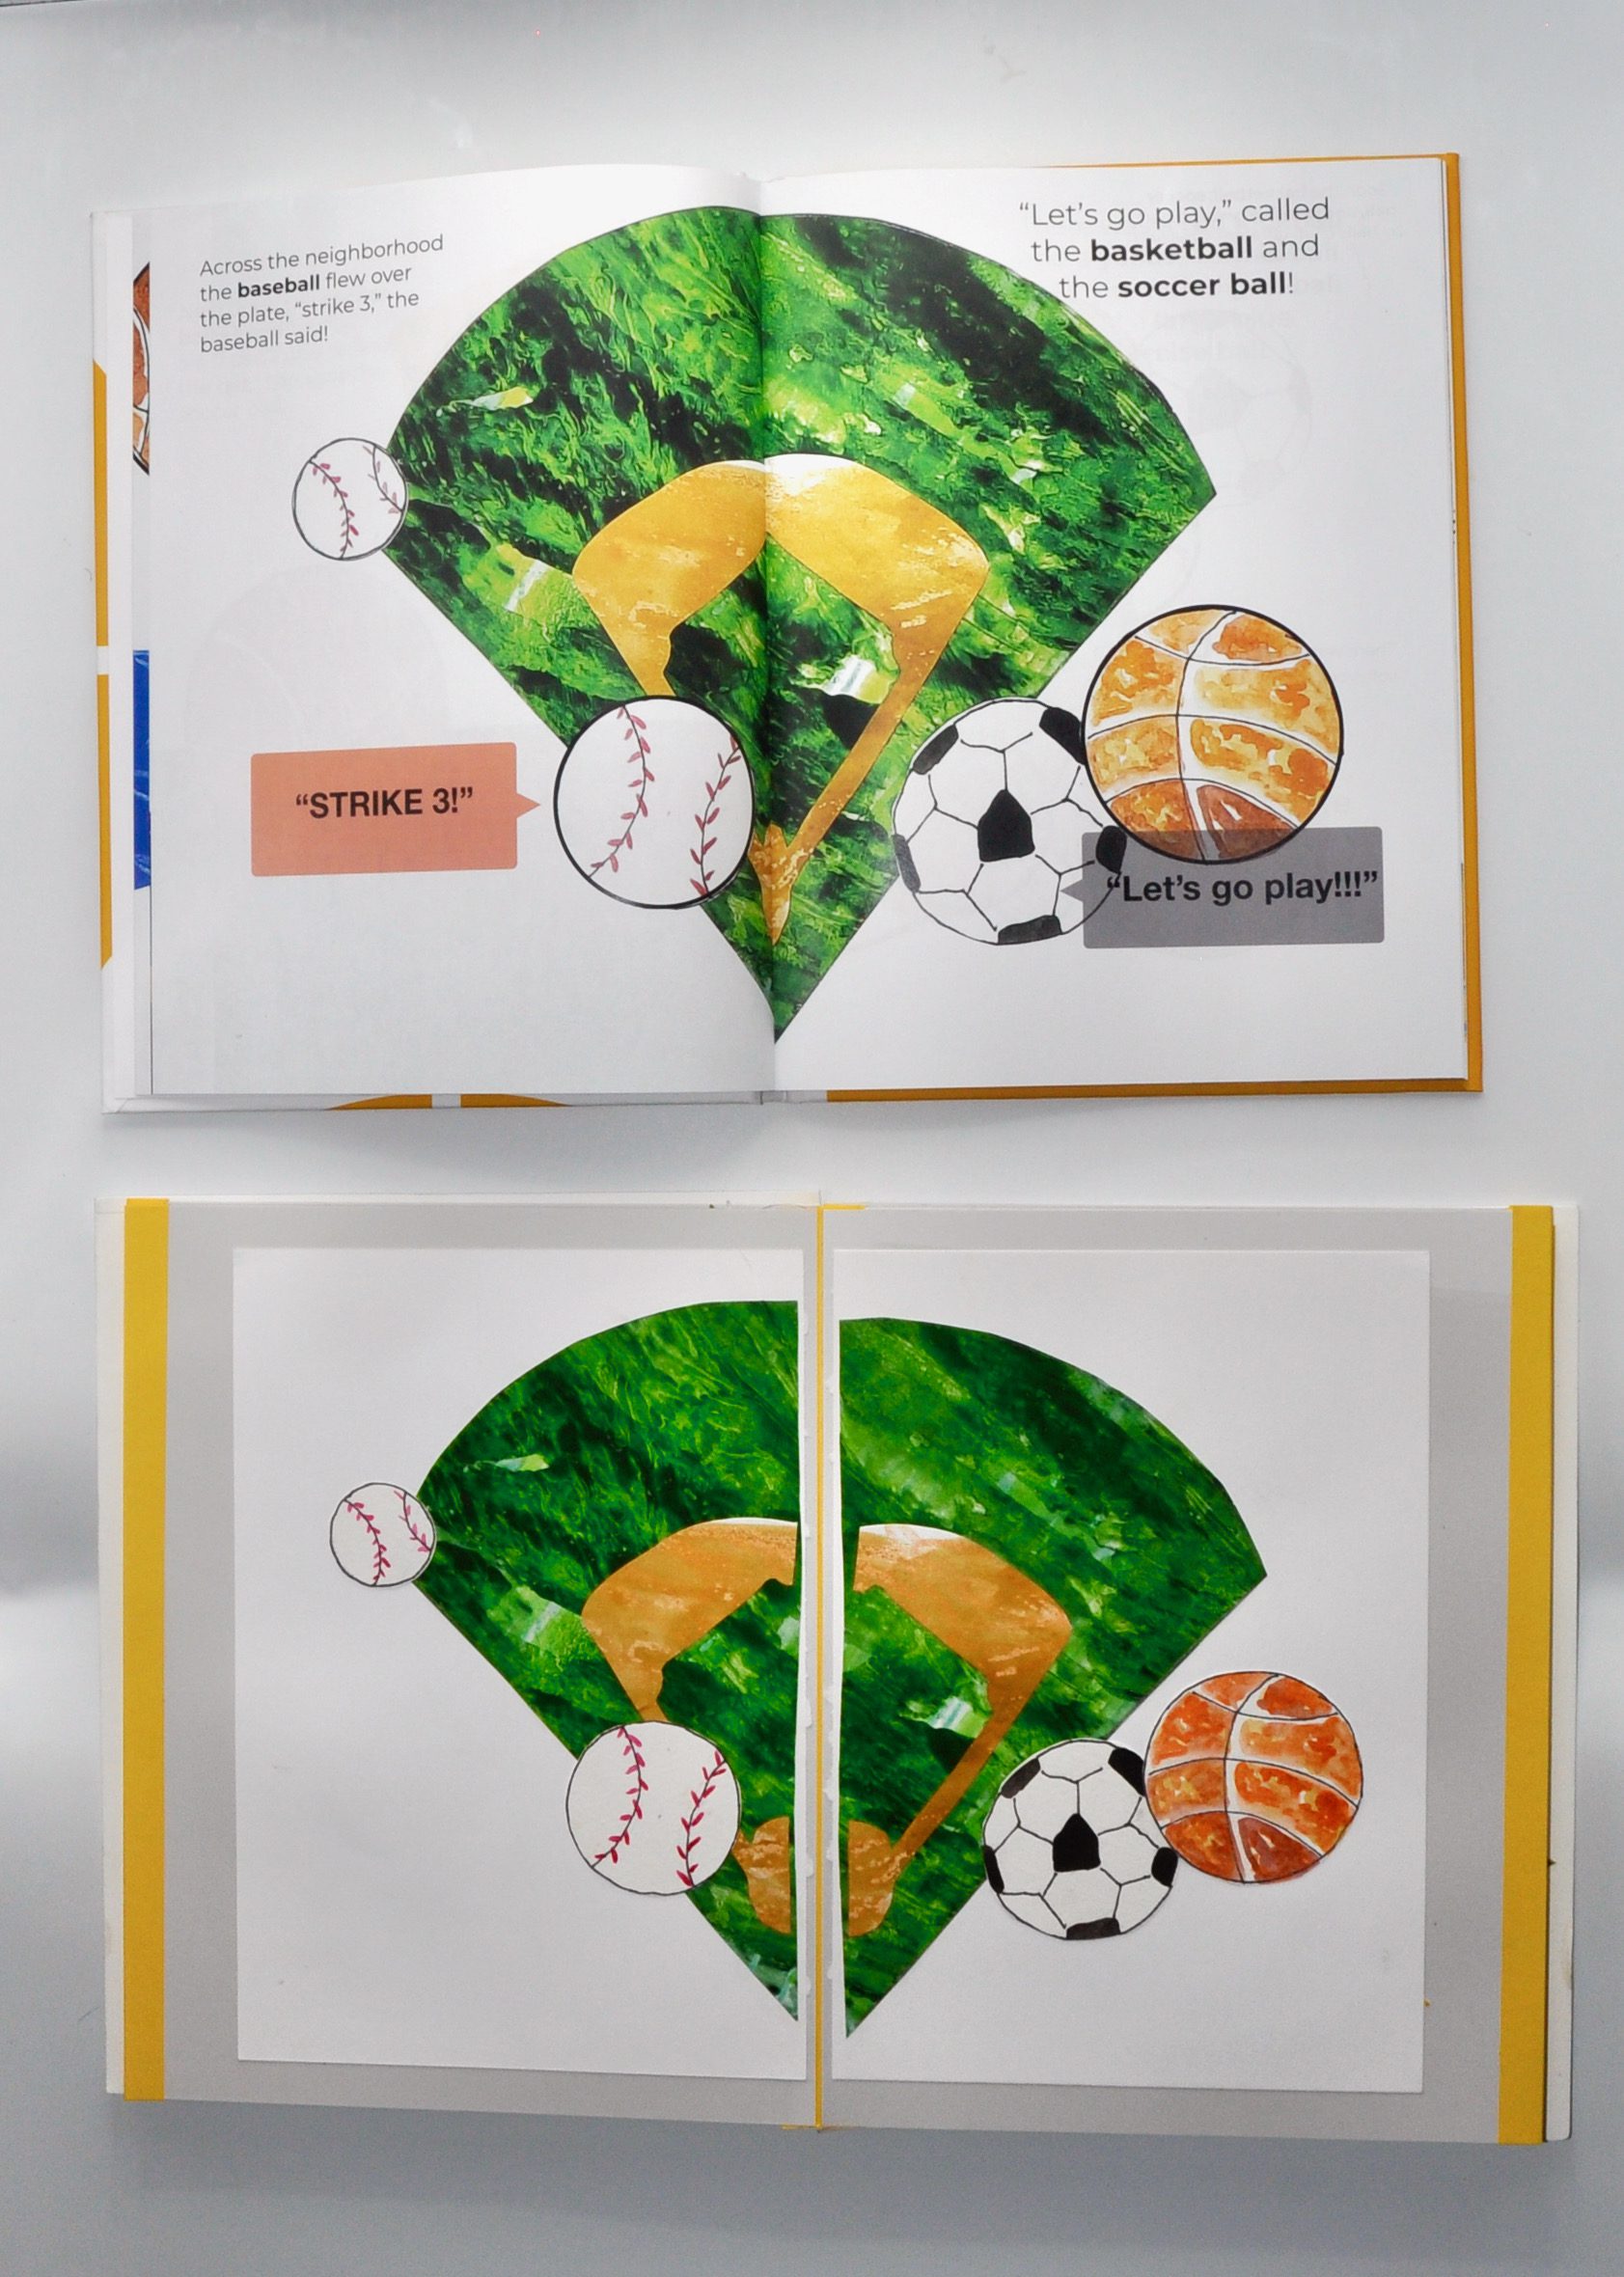
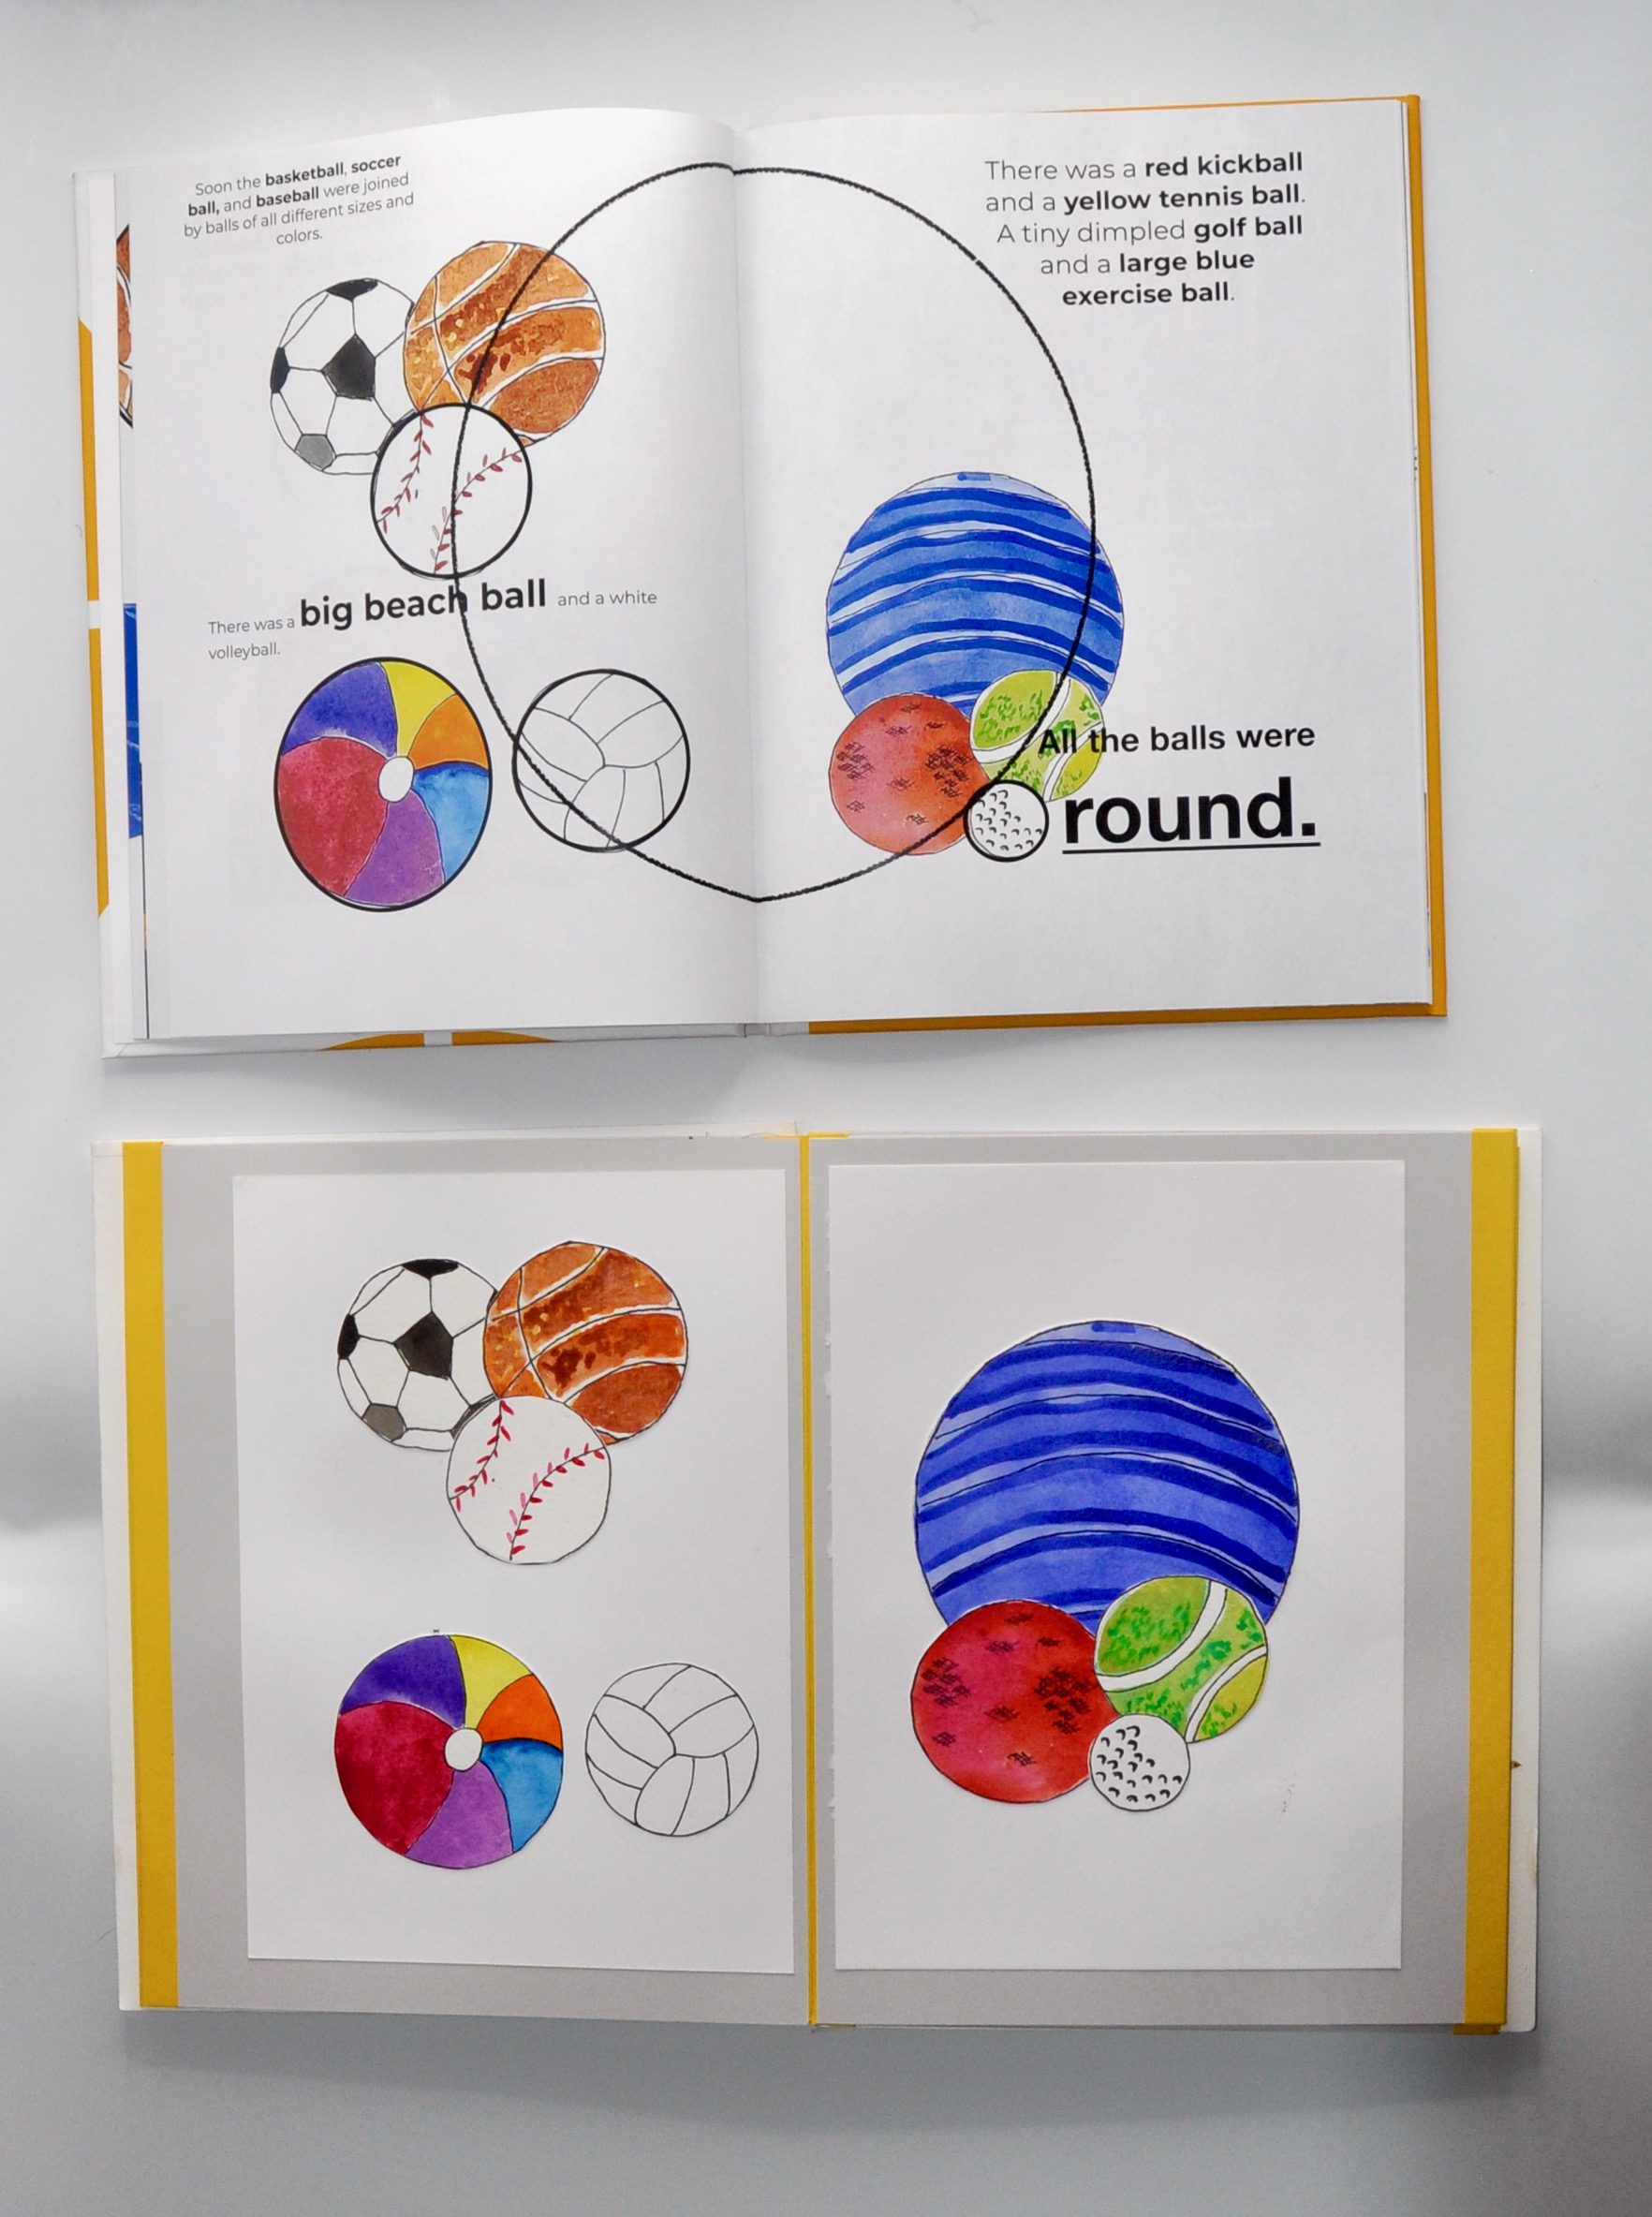
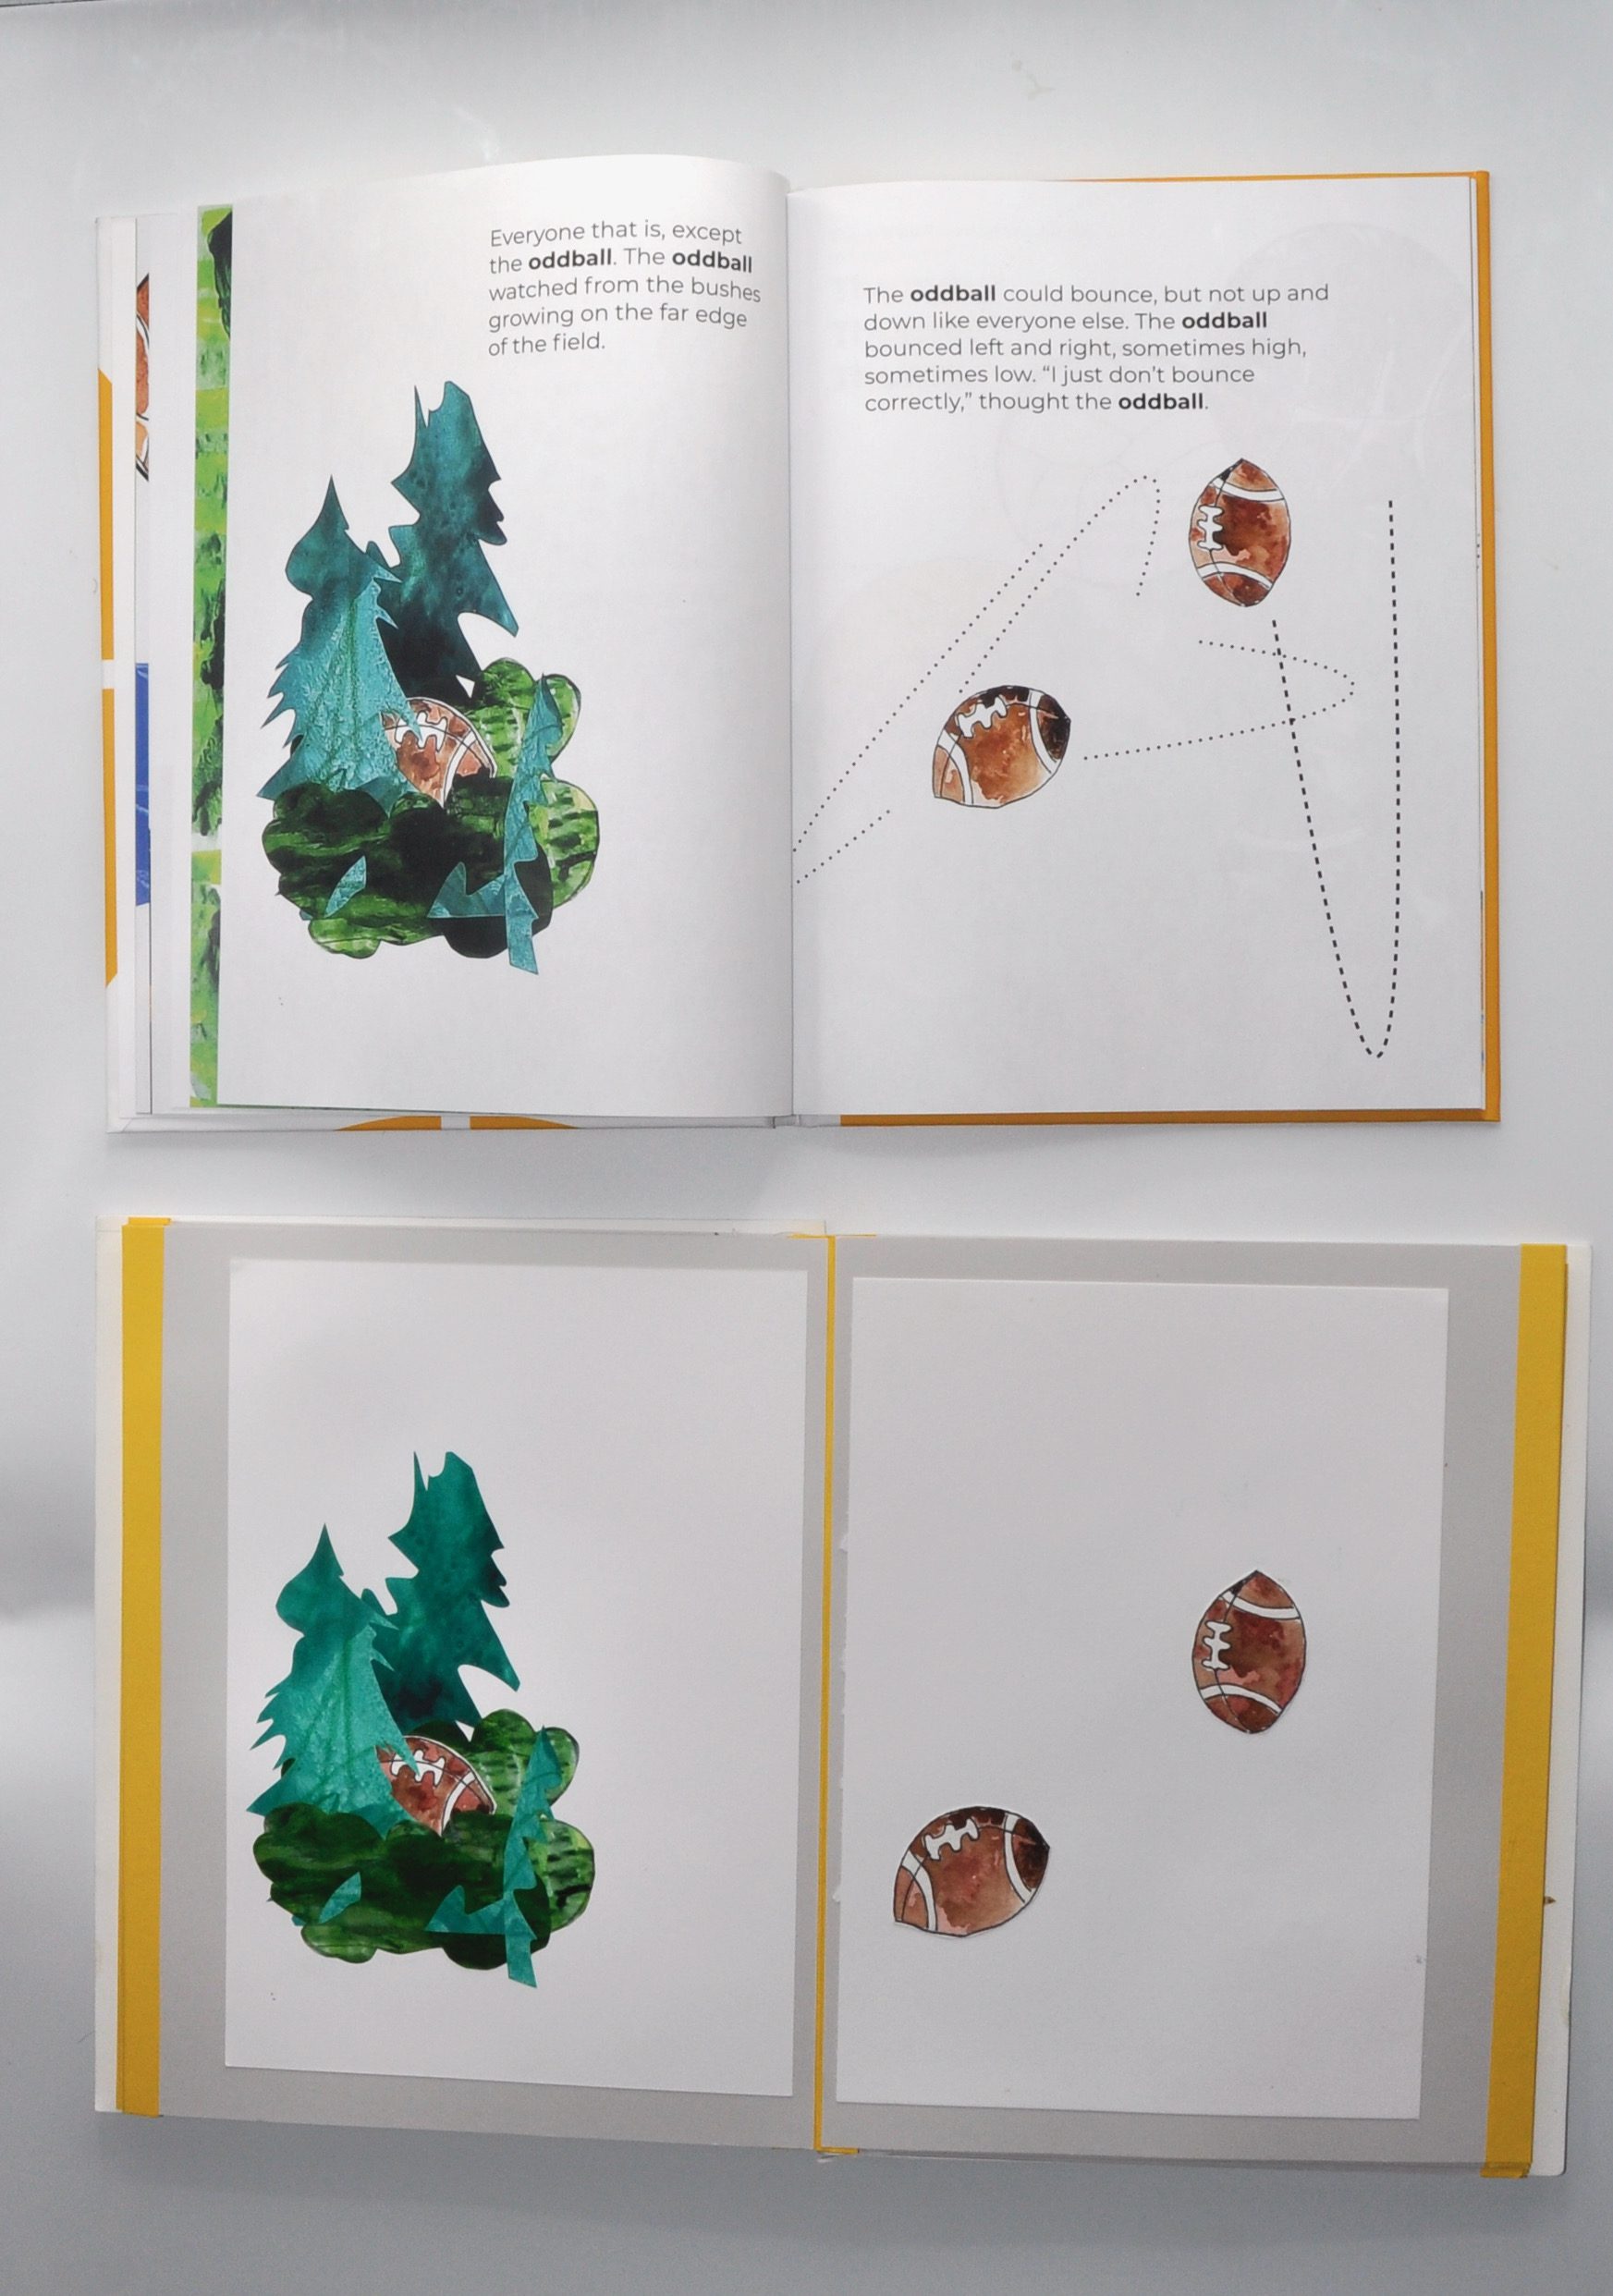
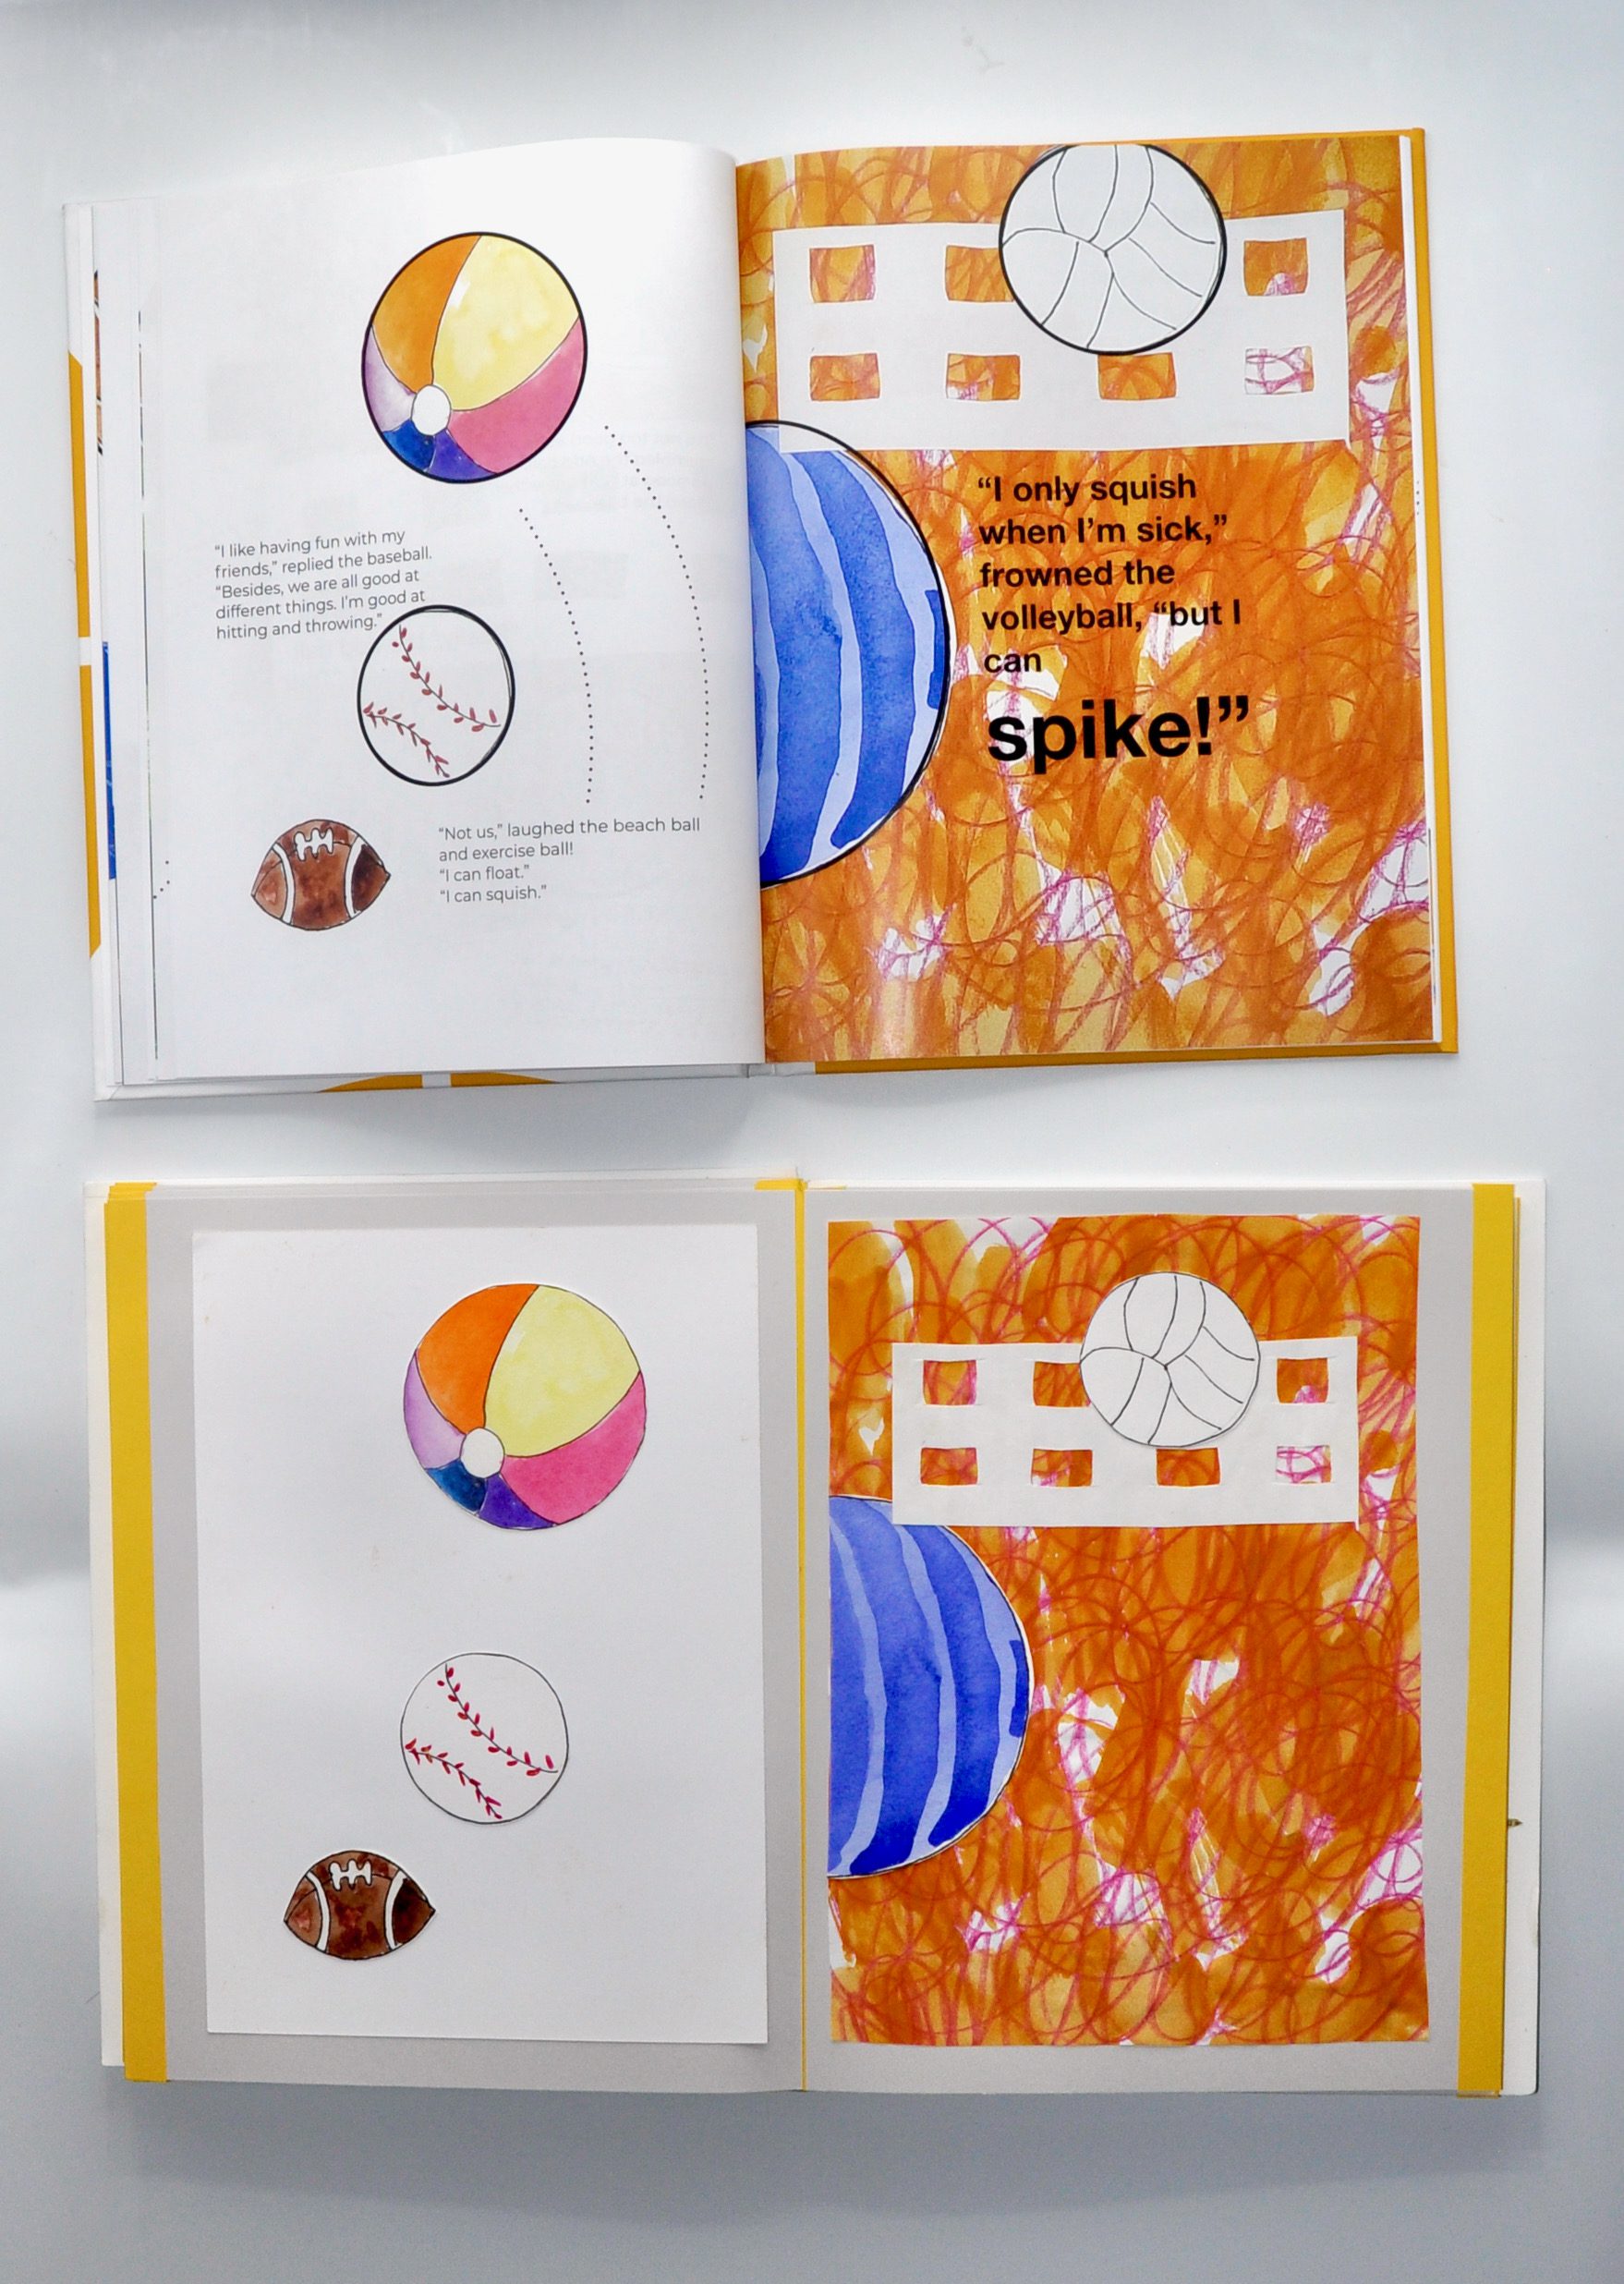
You have magical ideas and beautiful stories, so let’s explore how to get them onto the page. Throughout you’ll see images of the original artwork + what it looks like in the printed book. However, I want to be honest, this doesn’t show the mess of cut paper and abandoned layouts, those didn’t get photographed. Let no one fool you, there are ALWAYS countless drafts of text and images that are thrown to the side in my case, piled on the floor.
I’m sharing how I go from original work, to the printed book, and this isn’t the only way to do it. (There are other posts where I go into more detail about determining page breaks and what will be an image and what won’t)This is one way. One way that works for me. You’ll want to experiment and find out what way works for you, and sometimes that means copying someone else’s way first, and finding out what you like and what you don’t.
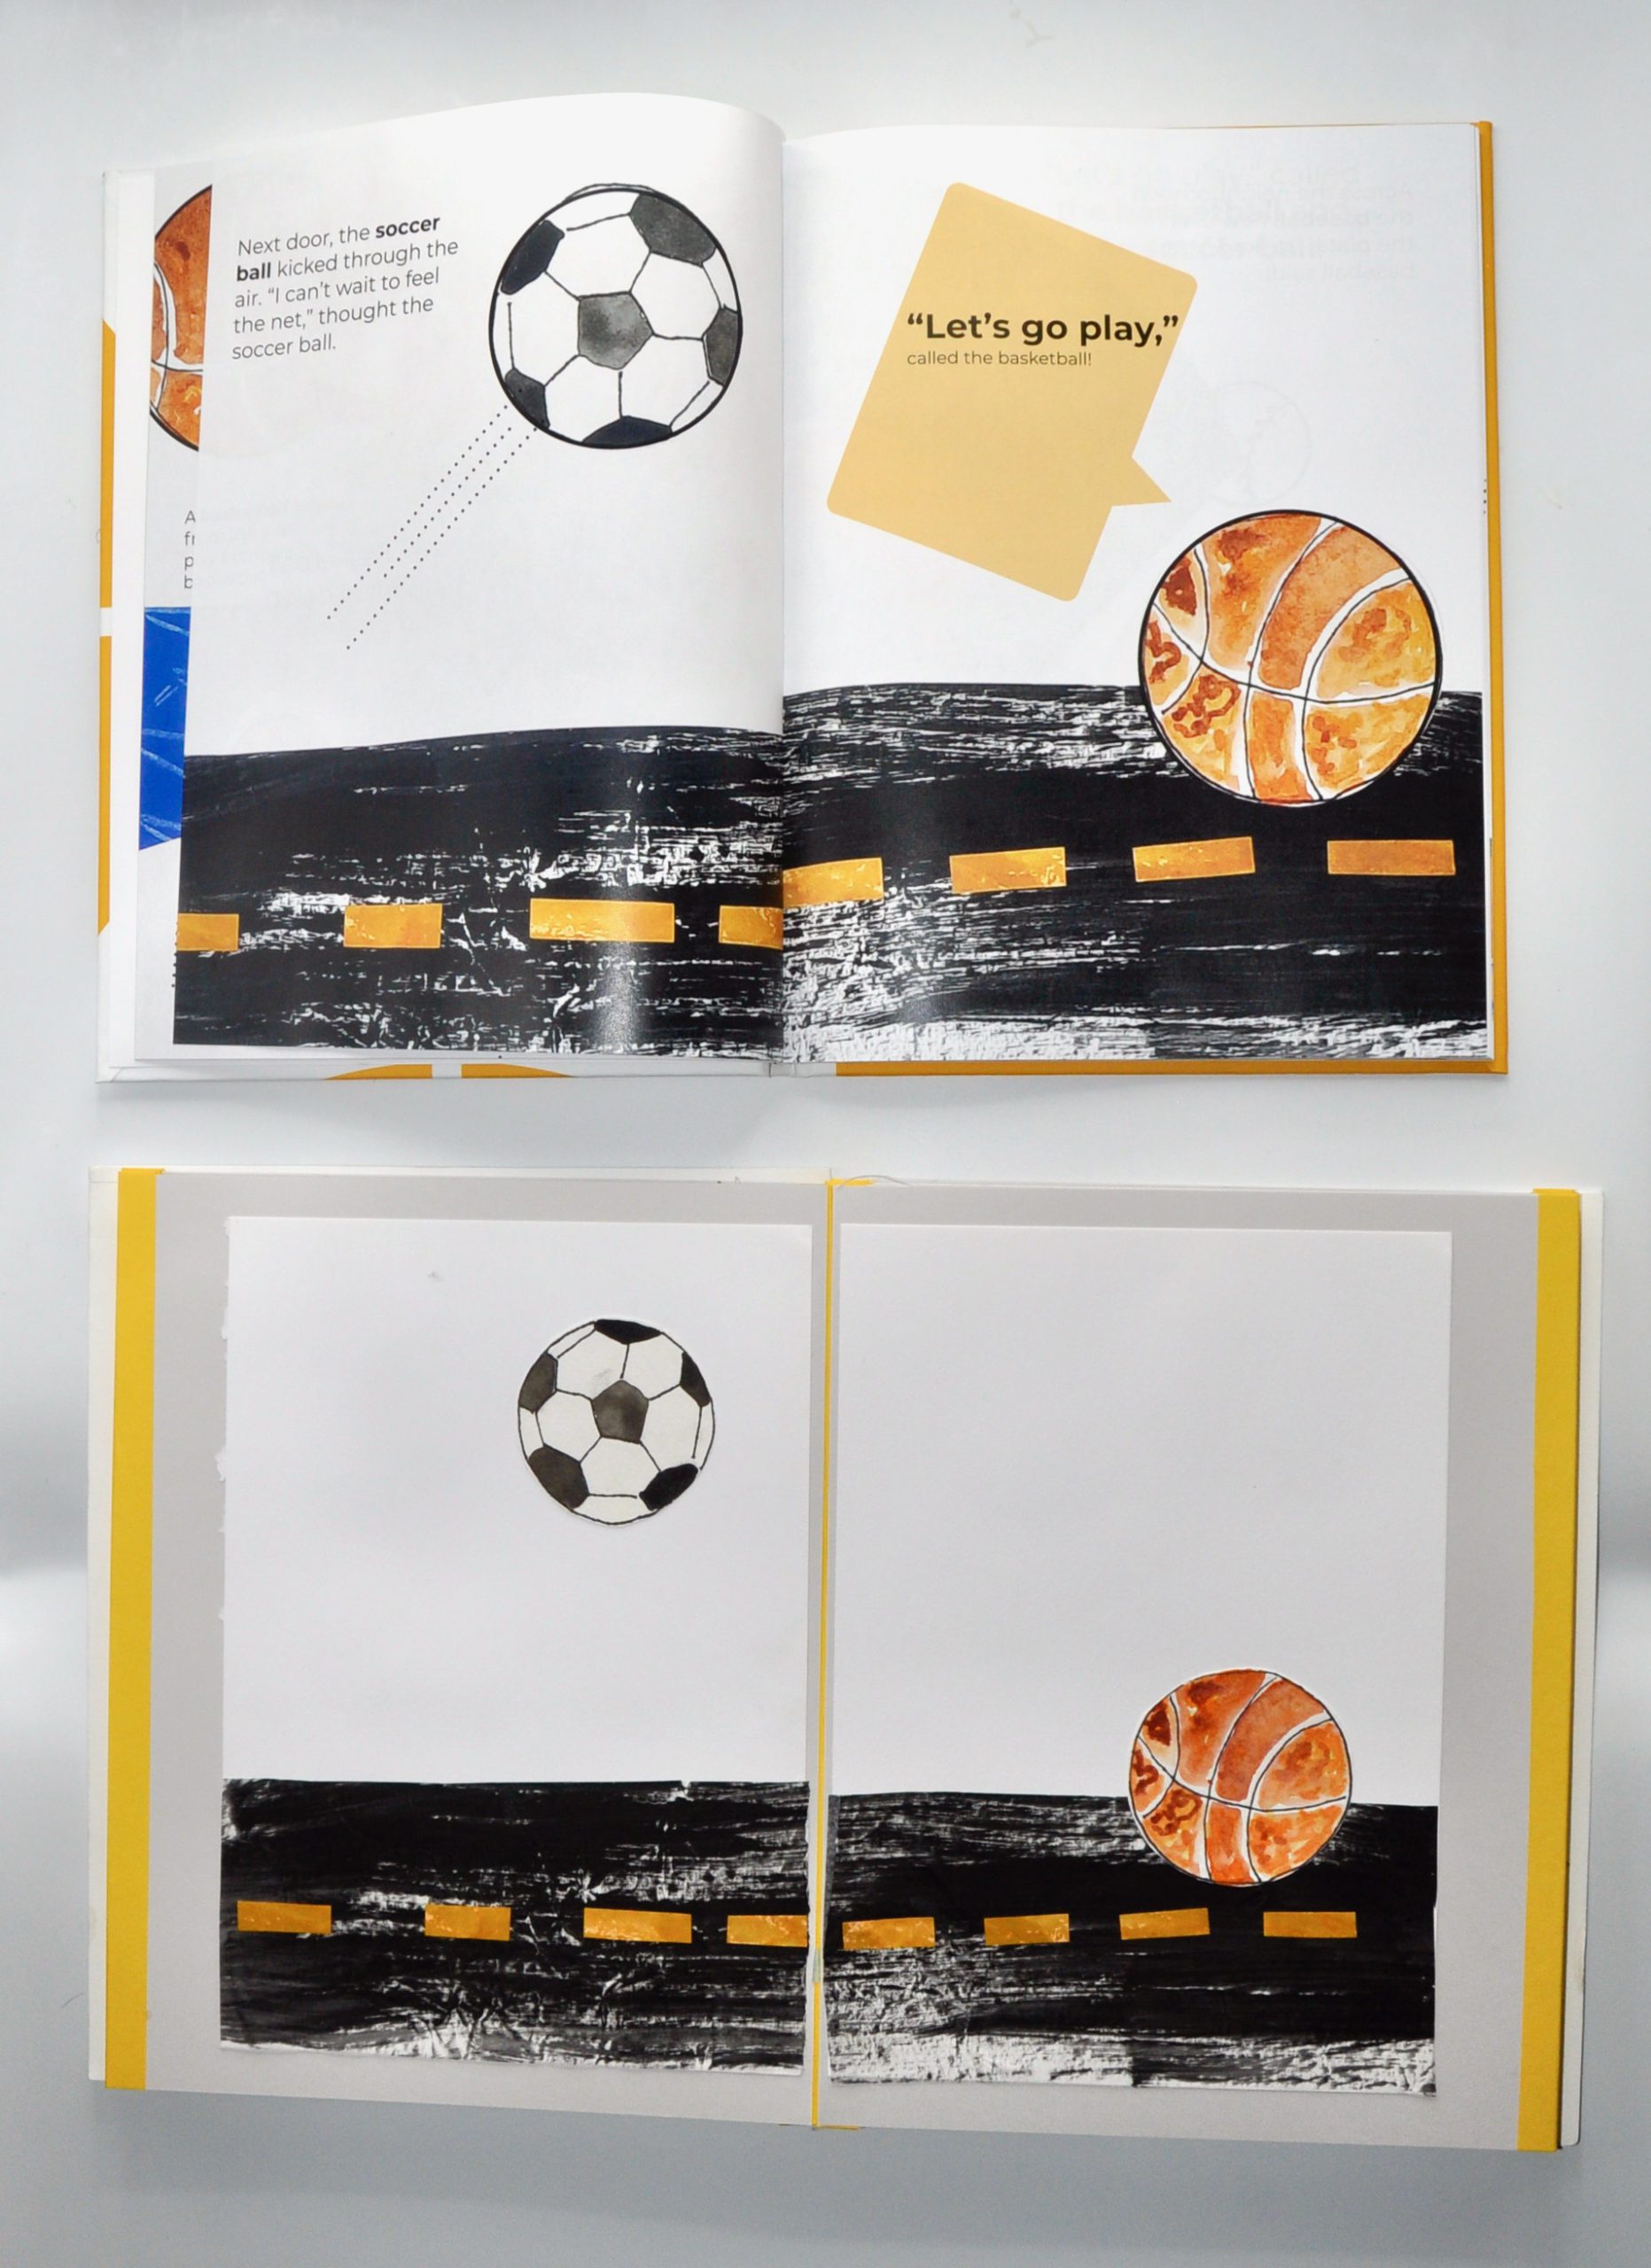
Each image is collaged onto a page and only glued down, once I’m pretty sure that I like the image. Next, it’s photographed or scanned and the finishing touches are done digitally. In the image above, you’ll see that the text, movement lines, speech bubbles, and crisp outlines for the balls were added digitally.
I’ve found that the back and forth between analog and digital works best for me. You might discover something different for yourself. I enjoy creating physical work, and since it has to become digital to turn into a printed book for distribution, there are some parts that translate better if I use the computer.
The idea and look of handwriting in a book is also something that I love, but something that you won’t see in any of the books that I work on.
WHY?
The books are made for kids. For kids to enjoy listening to and for them to practice reading. And handwriting can be hard for my kids to read, especially those that struggle with dyslexia. So, the text is always typed in a non-serif font, and I hold back some of my love of typography to focus on what will support the majority of early readers.

I take the same approach to the selection of materials, processes, and style of the images. I select materials and processes that kids can do. And strive to keep the style at a level that is somewhat attainable for kids. Children will naturally try to copy what they see, and developmentally can get frustrated when they realize that they can’t make work like what they’re looking at. This doesn’t mean that they shouldn’t be exposed to skilled and professional work. It means that there should be a balance of both. This book also includes step by step how to draw instructions so that kids can practice and learn how to draw each ball that they see in the book. It helps them to understand that they’re all made from lines and shapes.
Lowenfeld’s Stages of Artistic Development
Stage 1: Scribble (ages 2-4)
- Disordered: these marks are usually uncontrolled as the child has little to no motor skills at this stage. (there are scribbles made with crayons in the backgrounds of many images)
- longitudinal: these are more controlled and repetitive motions
- curricular: these marks continue to be more controlled and often move in a circular motion
- naming: the child explains the scribble
Stage 2: Preschematic (ages 4-6)
- Circular images combined with lines, they often seem like people or animals
- What children draw shows what they find as most important
- Little understanding of space and how to represent it on the page
- Use of color is not connected to realism
Stage 3: Schematic (ages 7-9)
- Start to demonstrate an understanding of space
- usually include a base and skyline
- colors are more realistic
- shapes and objects can be recognized
- demonstration of scale, ie trees are bigger than people
Get a FREE digital copy of The Oddball
Programs used
- Pages: for layout and to create package to upload to Amazon
- Phone camera and lightbox
- Photo Room to remove the background and create vector images as needed