How to Develop and Design A Postcard
Design
My husband just walked through the door with his first tip of the holiday season; he’s a letter carrier, which reminds me that I need to figure out the design for this year’s thank you card. When developing an idea or new design, giving yourself some rules is essential. Don’t worry; you can break them; you’re the one that made them, but rules, aka constraints, will help you focus your experimentation.
My Rules:
- The design needs to be easily repeatable ( I’m going to need to make it a lot of times)
- I need to use materials that I already have
- Inspiration needs to connect with the USPS
The purpose of adding rules to help you generate ideas is to help you quickly identify what you won’t do. For example, based on my limitations, I’m not going to do any complex illustration or collage, I’m not going to go to the art supply store and buy endless things that I may or may not use, I’m not going to do anything with many dimensions that would require shading or layering. When you know what you won’t do, you can determine what you will do much faster.
Brainstrom ideas
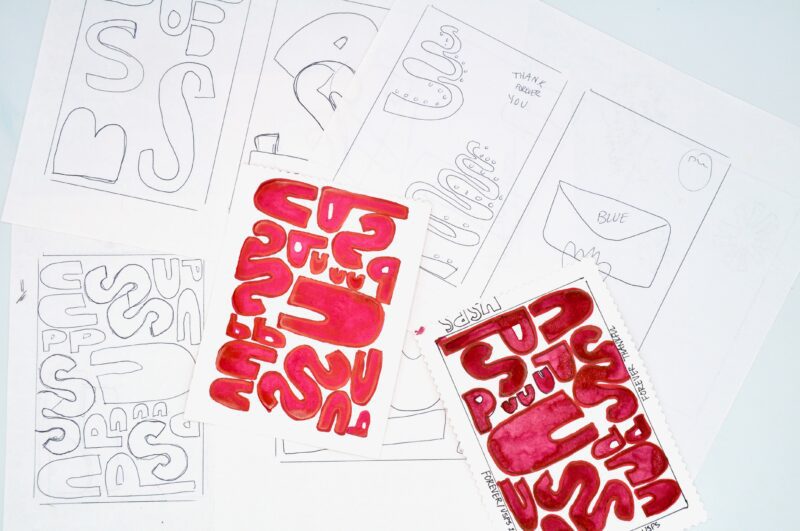
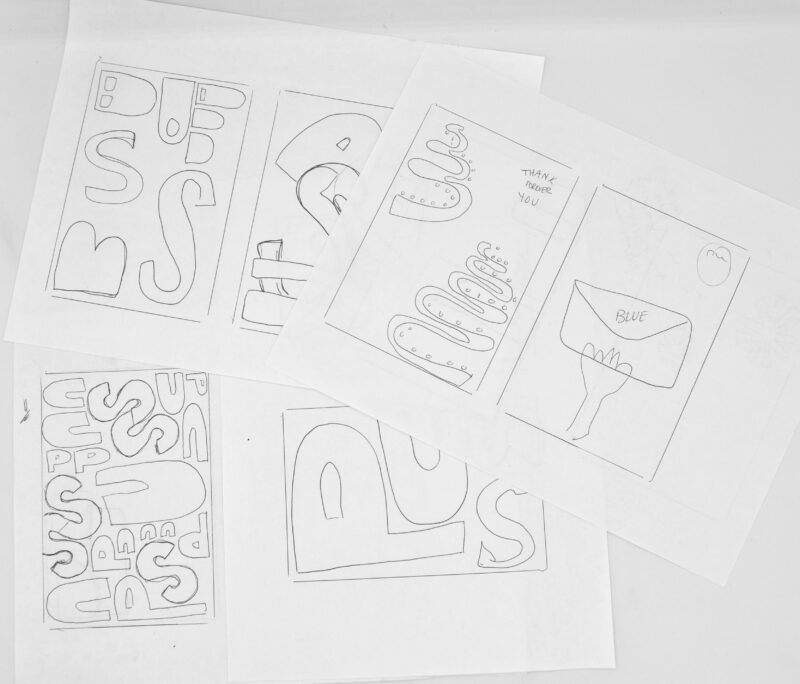
Once you know the guidelines for your project, start to brainstorm. My preferred method is to grab a pile of computer paper, create boxes approximately the size of what I want to make, grab a pen, and start drawing. Nothing should feel precious at this point. Go fast and iterate. I created many more sketches than you see in the image above, but you should get the idea. Allow one idea to inform the next. I liked the squiggly line in my first few sketches, but it didn’t connect to anything until I realized it could be an “s,” which led me to start playing with the letters USPS. I then created design after design, working to create a pattern using the letters USPS.
Refine Your Idea
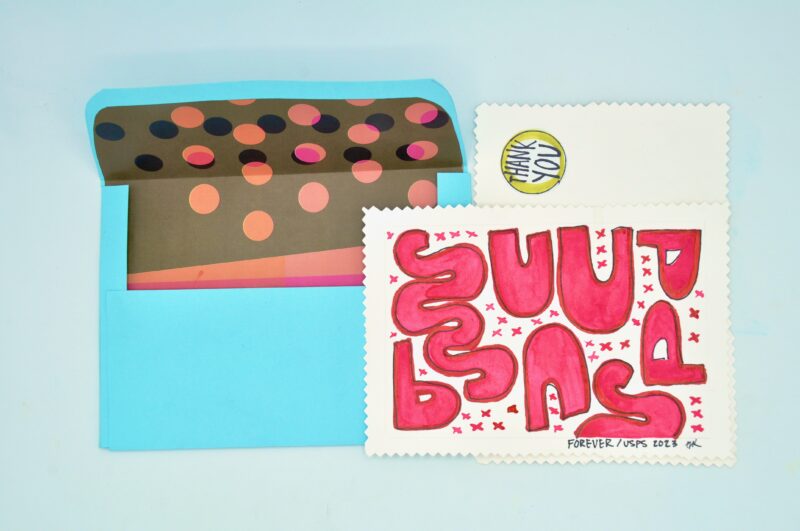
Once you have a solid sketch, see if you can push your idea further. I decided to take the design and create a card modeled off a stamp, mirroring the shape, textured edges, and forever at the bottom. Next, make “Thank You” stickers to add to the back. Stamps again inspire the sticker and play an efficient role. I want to use both sides of the paper. However, I don’t want the writing to bleed through and interact with the main design.
Take Action
- Thinking of someone that you want to send a card to, write down their name and make note of things that they love, or that remind you of them.
- Create a list of 3-5 rules that you’re going to follow to bring some constraint to your ideation session.
- Spend 15-30 minutes seeking inspiration. Look at books, browse through pinterest or look through some works of art at online museuems. Make notes and do quick sketches as you browse.
- Grab your sketchbook or a pile of paper, and draw 15-20 boxes that are the size that you want your card to be.
- Start to fill those boxes. Example, you could start with your friends initials and make a few combinations. Or create a pattern that reminds you of your friends personality. Allow yourself to play, carrying over ideas that you like and letting others go.
- Select your favorite from your sketches, gather your desired materials, and allow yourself to make a few versions, refining your idea as you go.
- Grab an envelope or make one, and send your friend some surprise mail.
For more creative prompts explore Experiments with Marks, Materials, and Meaning
Watch the video below for a simple way to make your own envelope.