The Carry Over Method: 50 Paper Weavings
A few days ago, I wrote and shared with you about the importance and magic of personal projects; maybe I didn’t use the word magic, but I should have because magic is exactly what a personal project creates.
Personal projects are a powerful learning tool; no matter your age or stage in life, you should use them. Do you want to change your job or career but don’t know what to do or how to do it? Start a personal project and see what you learn. Head in the direction you want to go and continue building one project at a time.
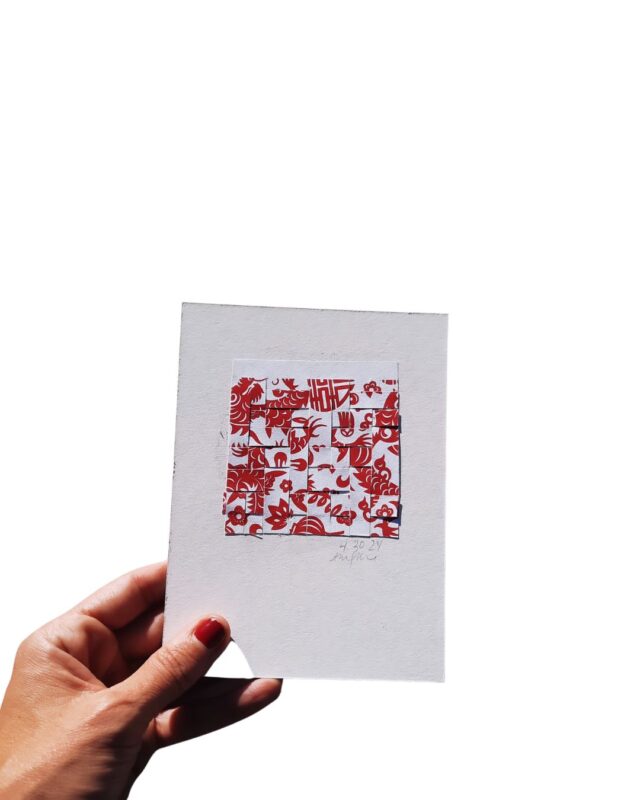
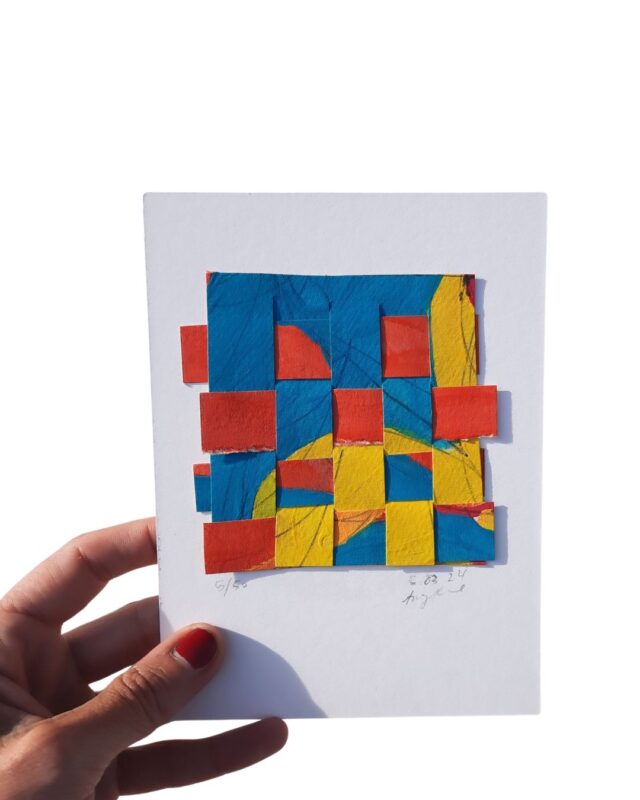
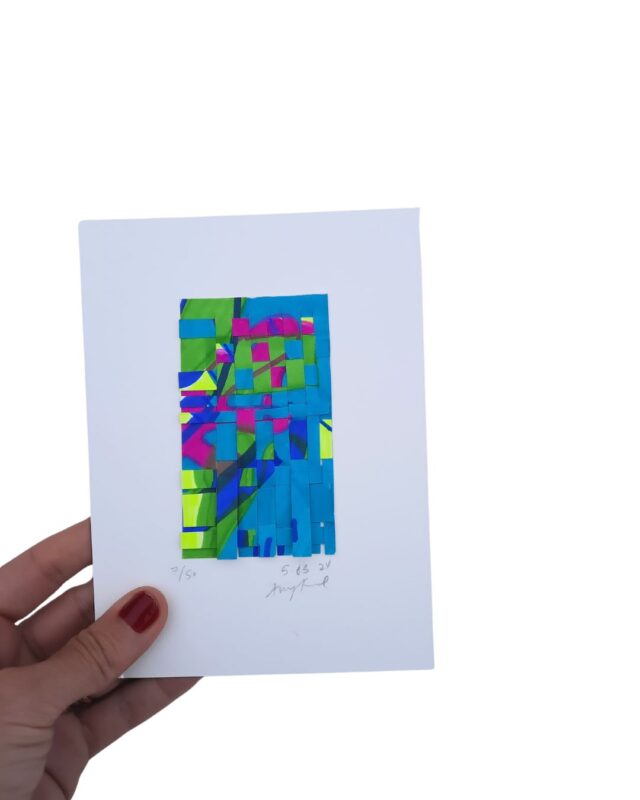
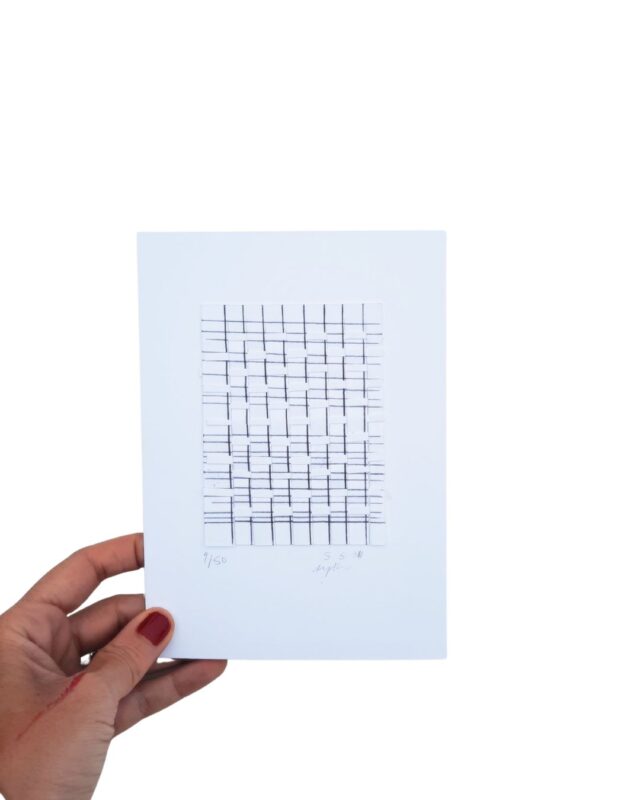
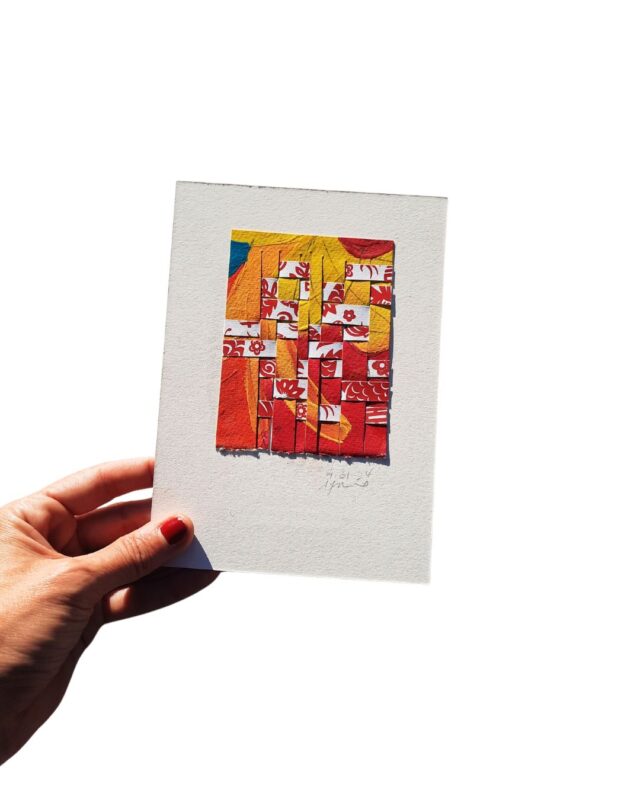
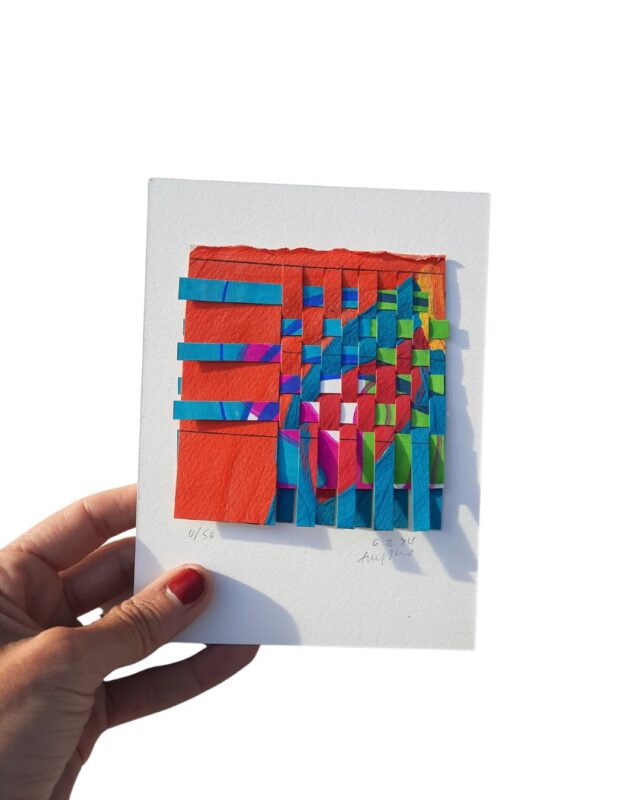
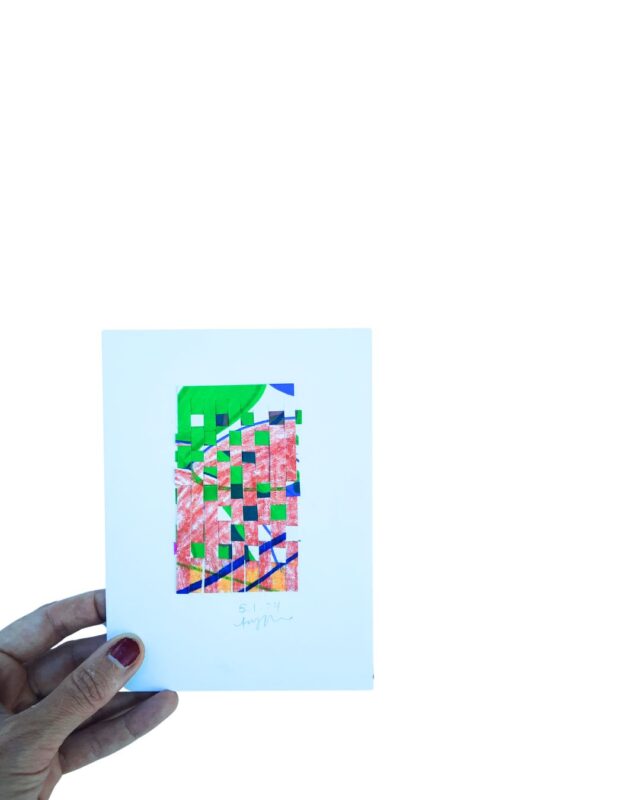
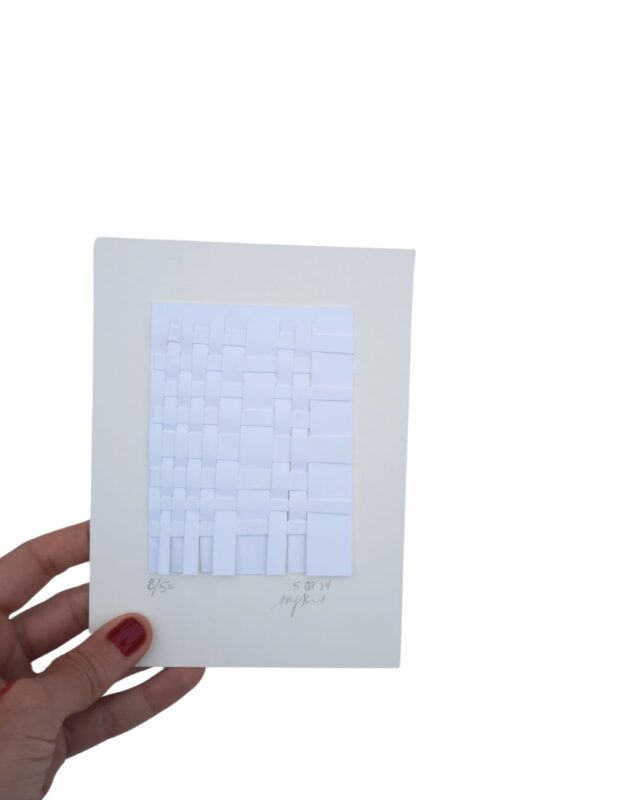
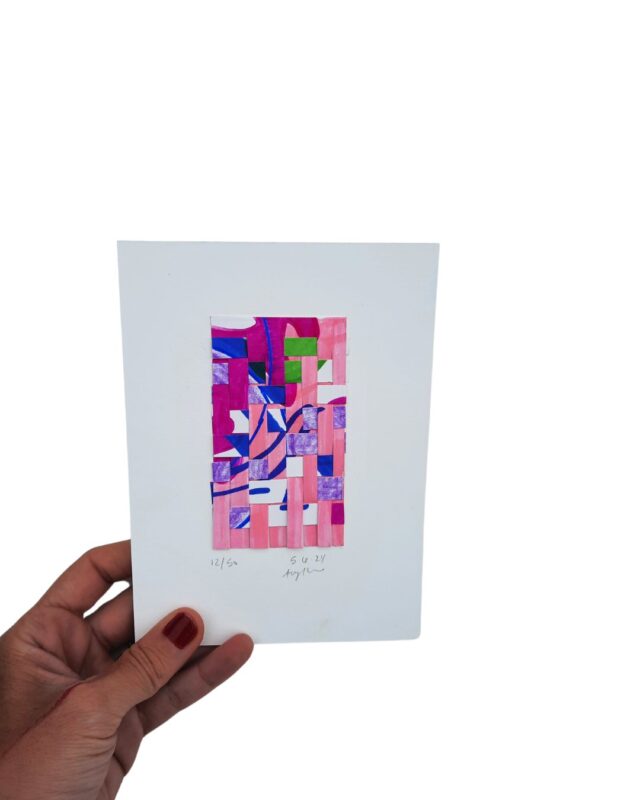
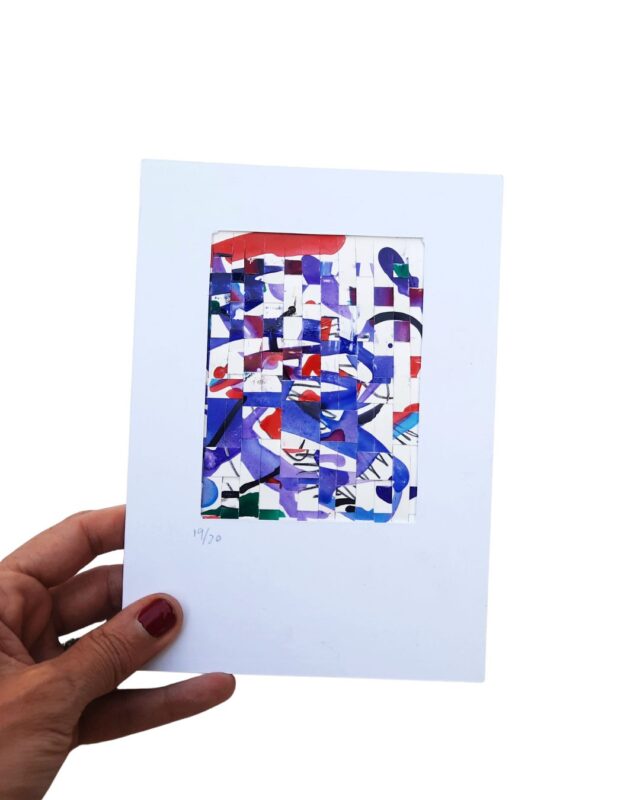
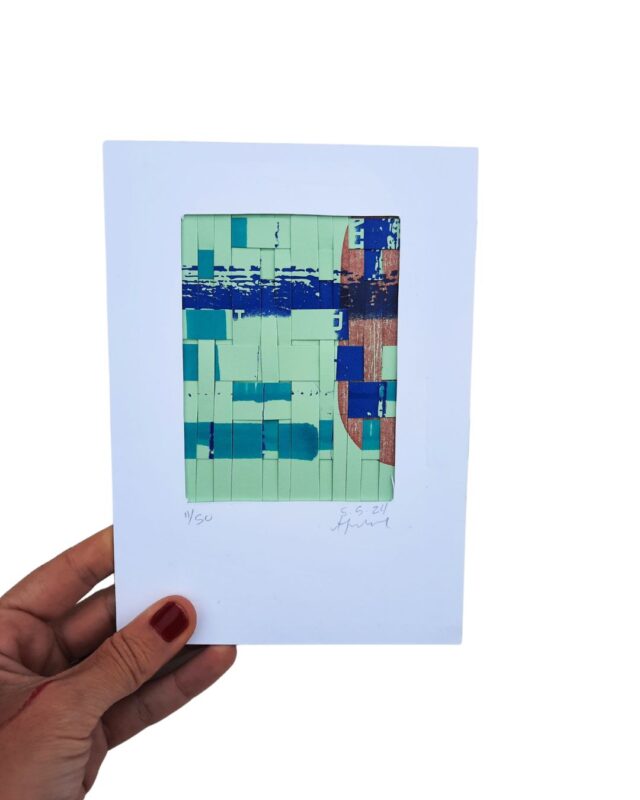
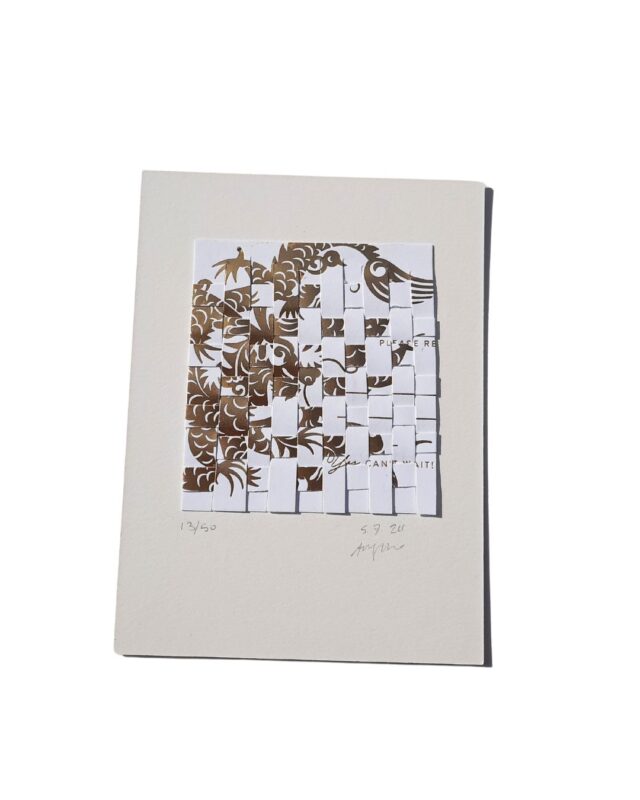
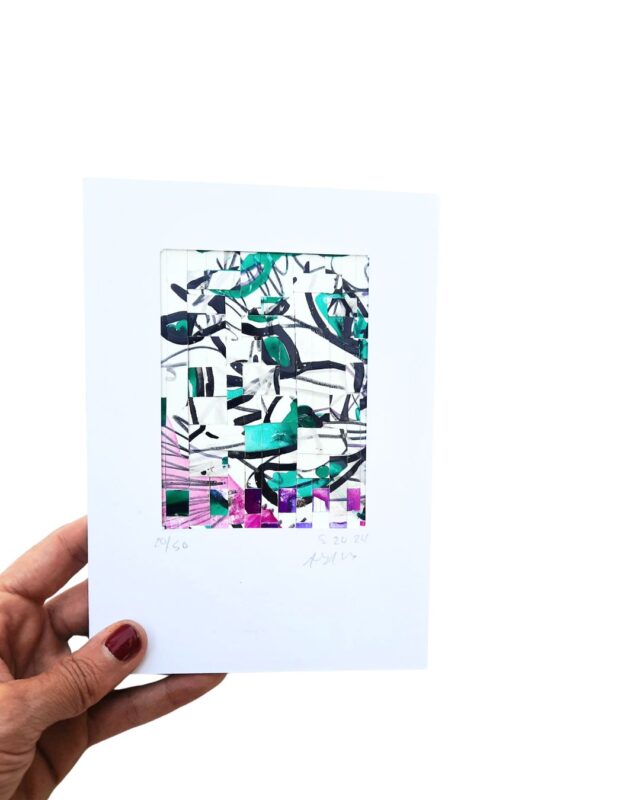
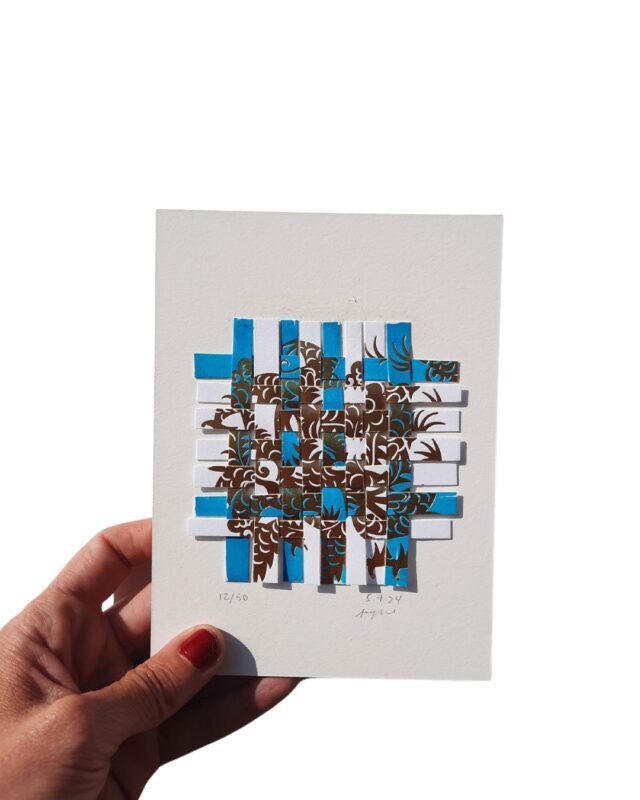
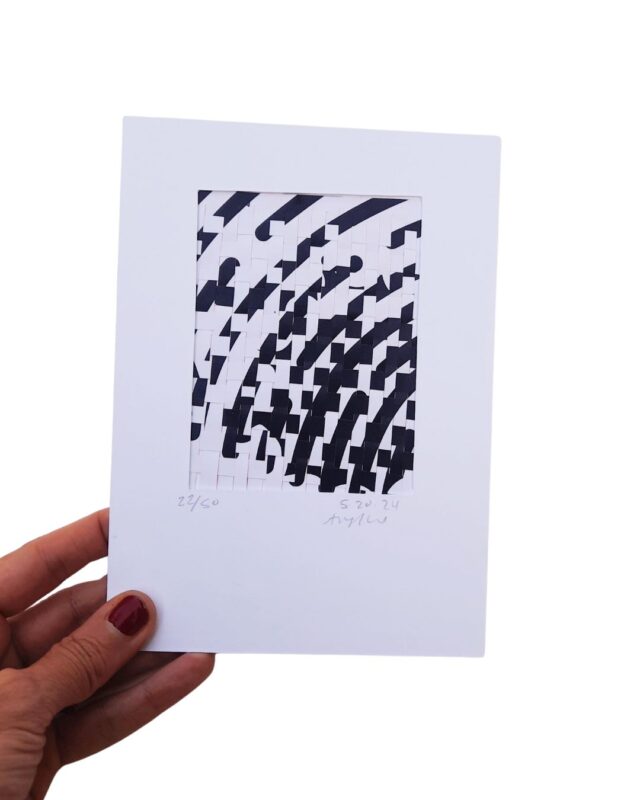
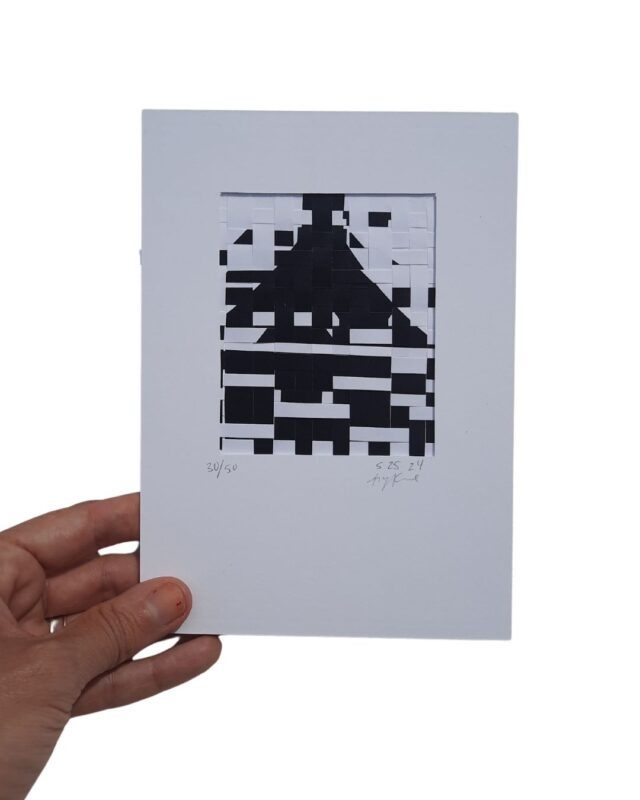
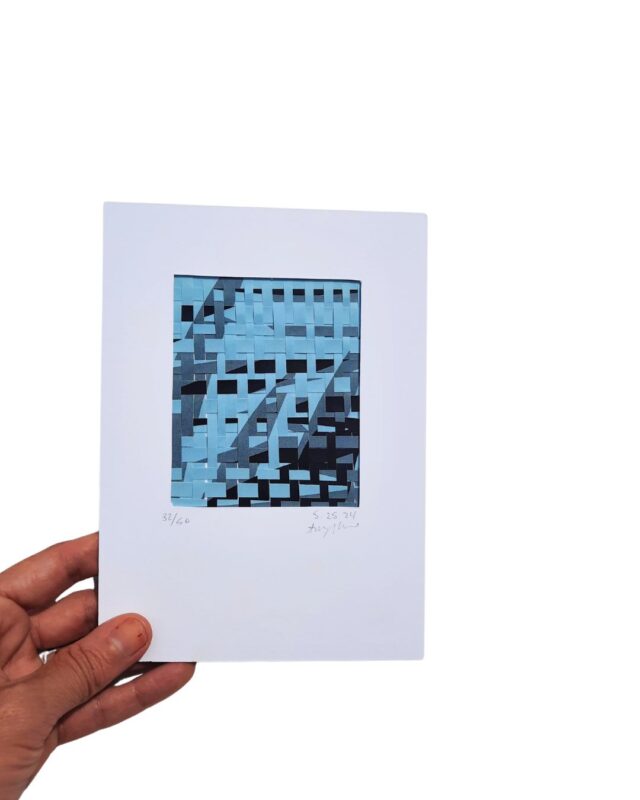
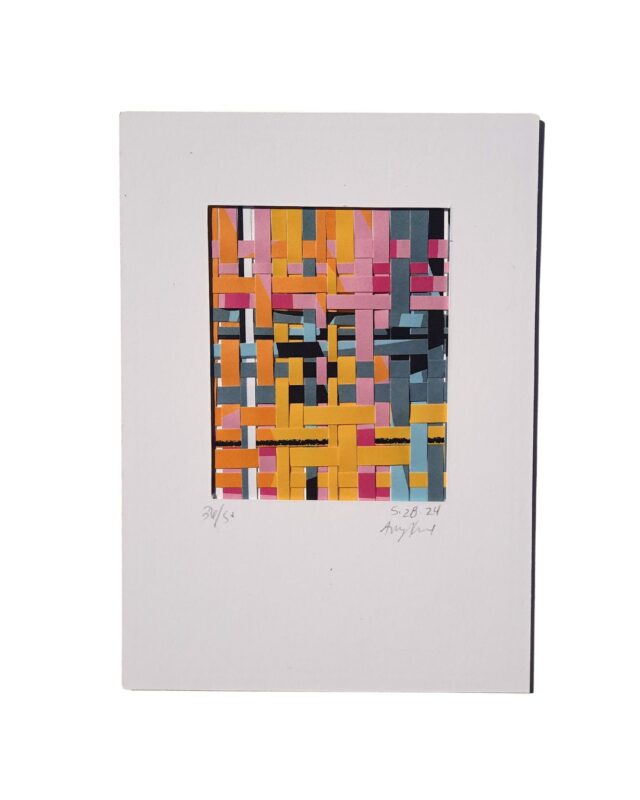
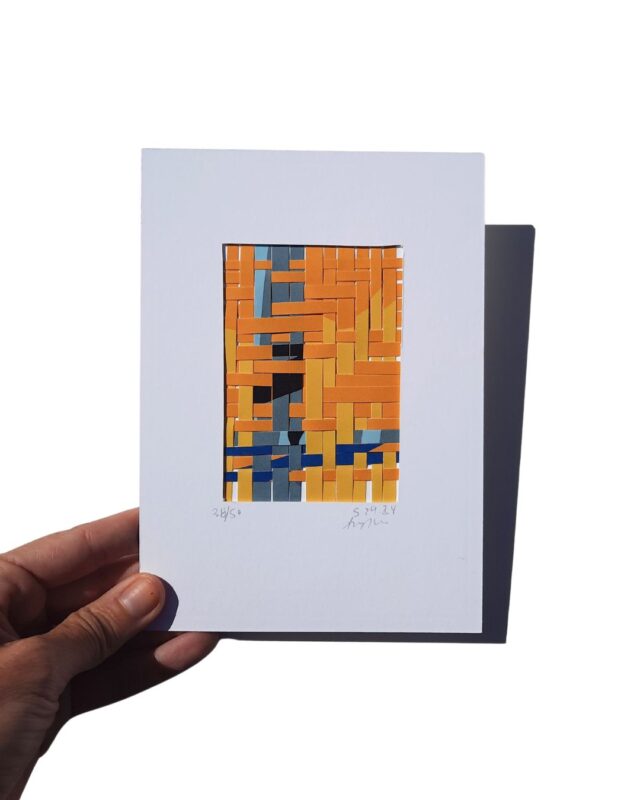
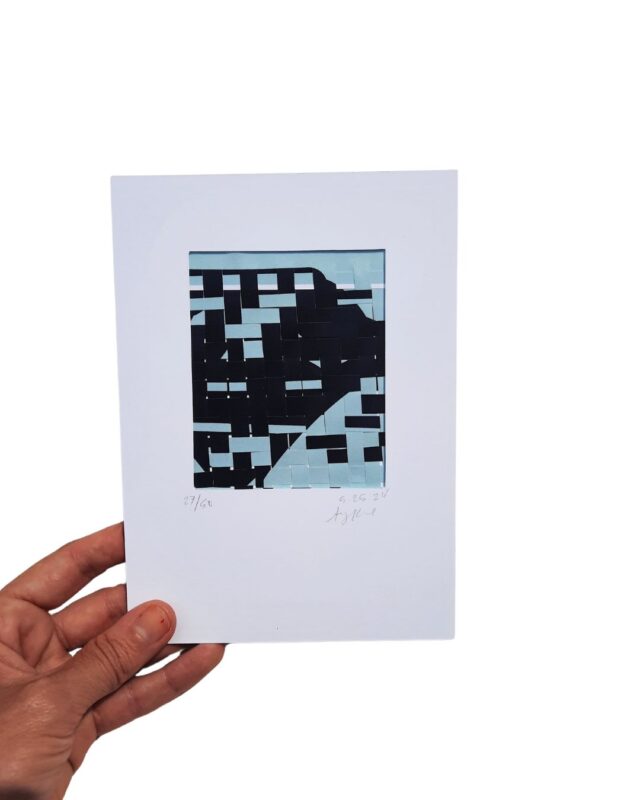
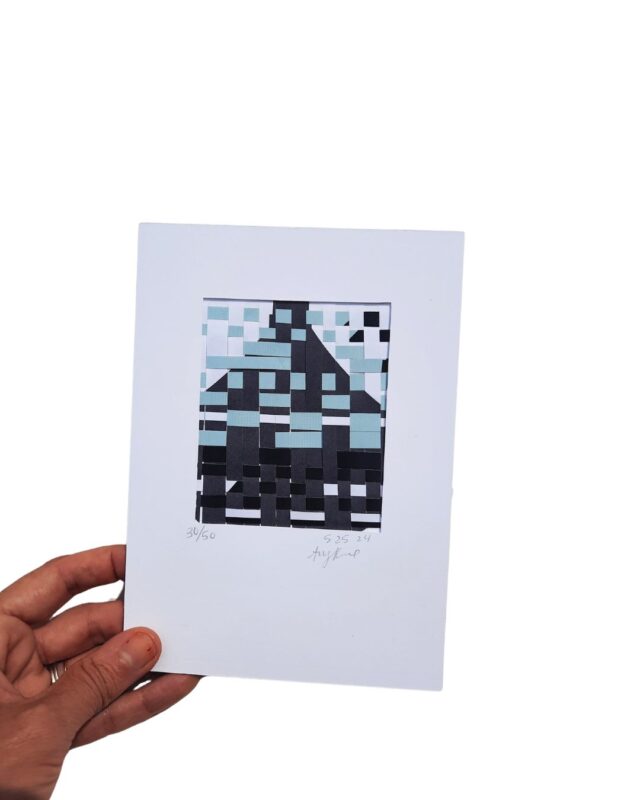
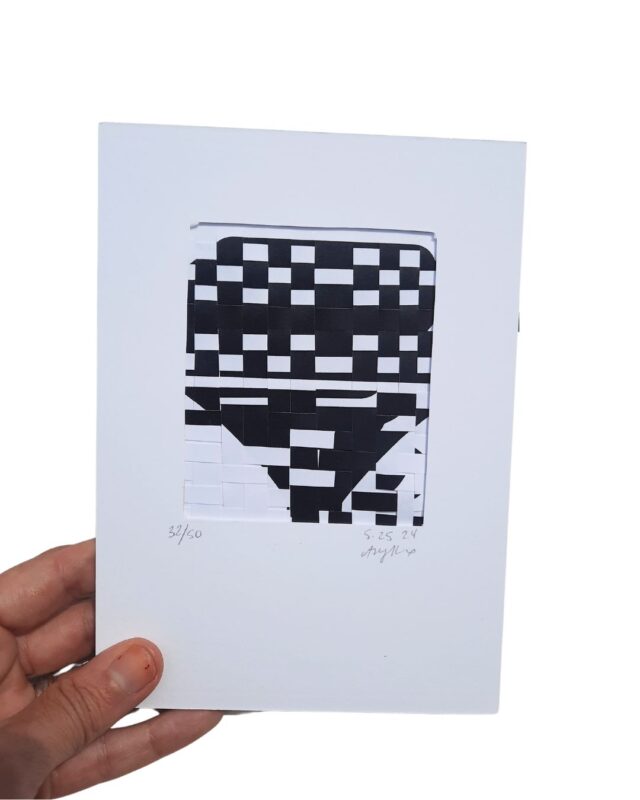
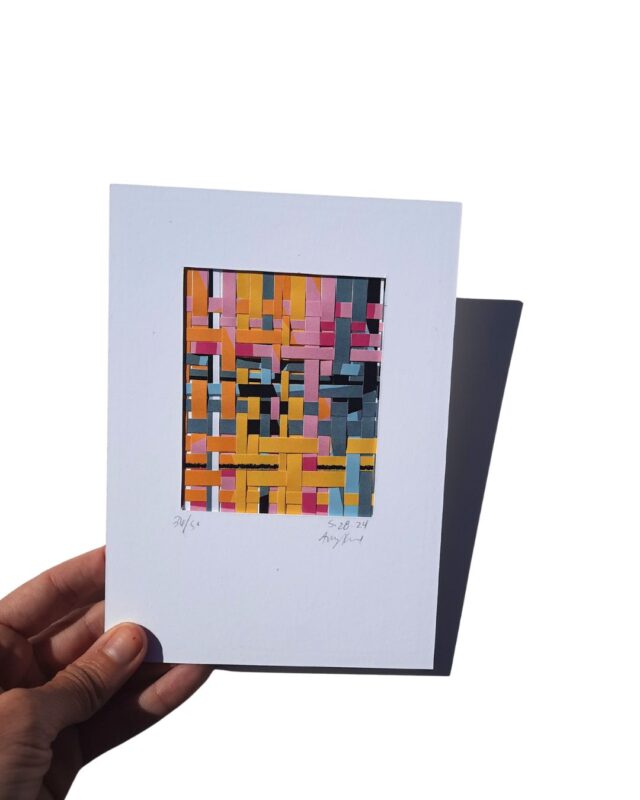
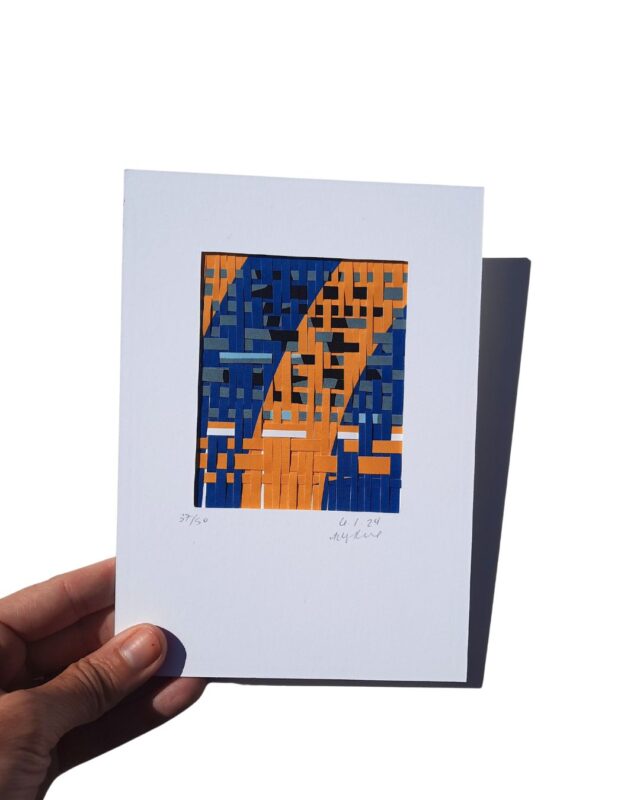
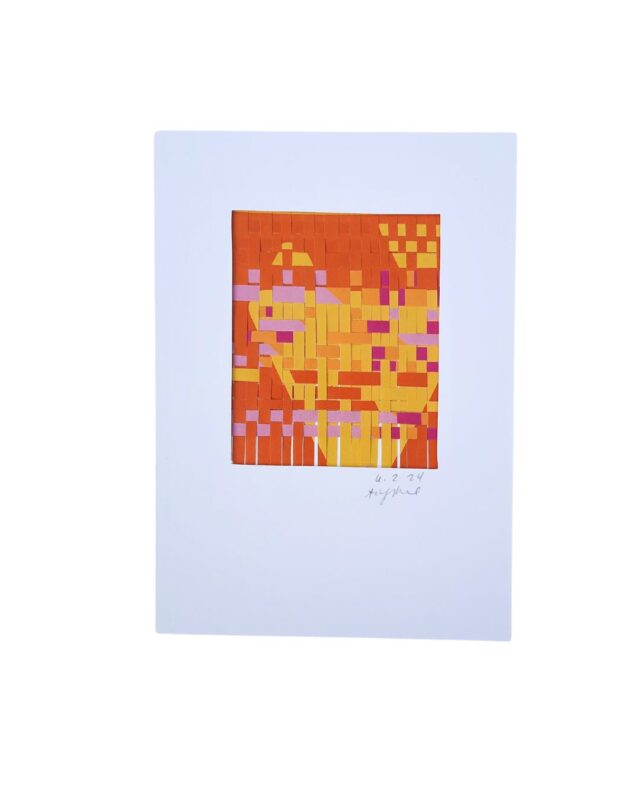
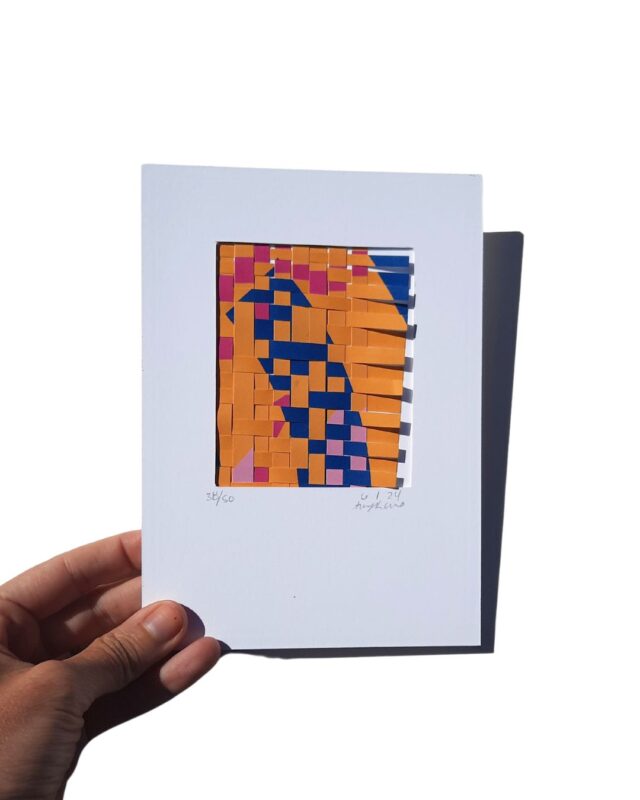
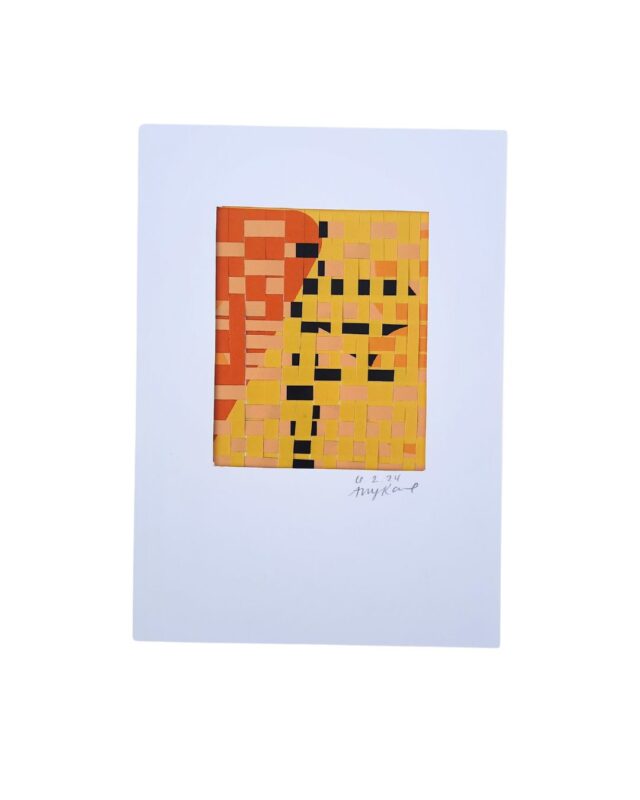
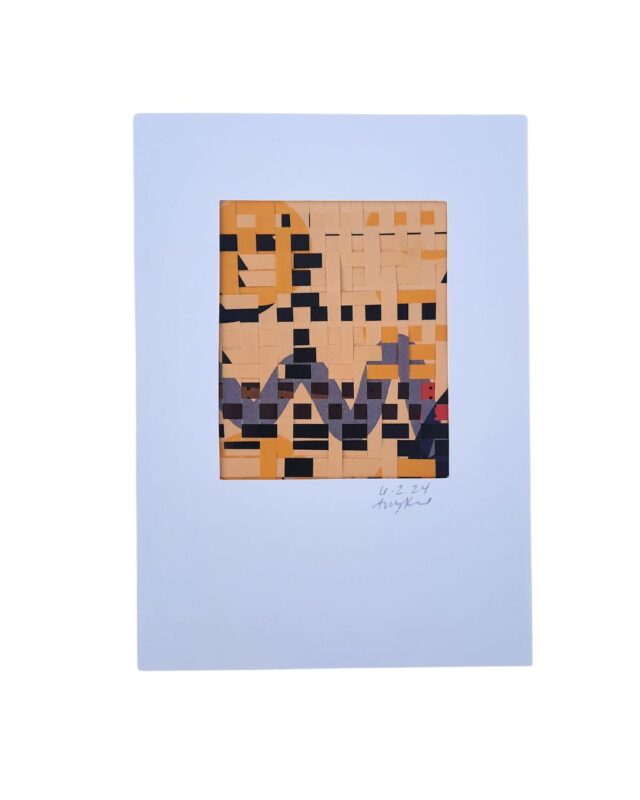
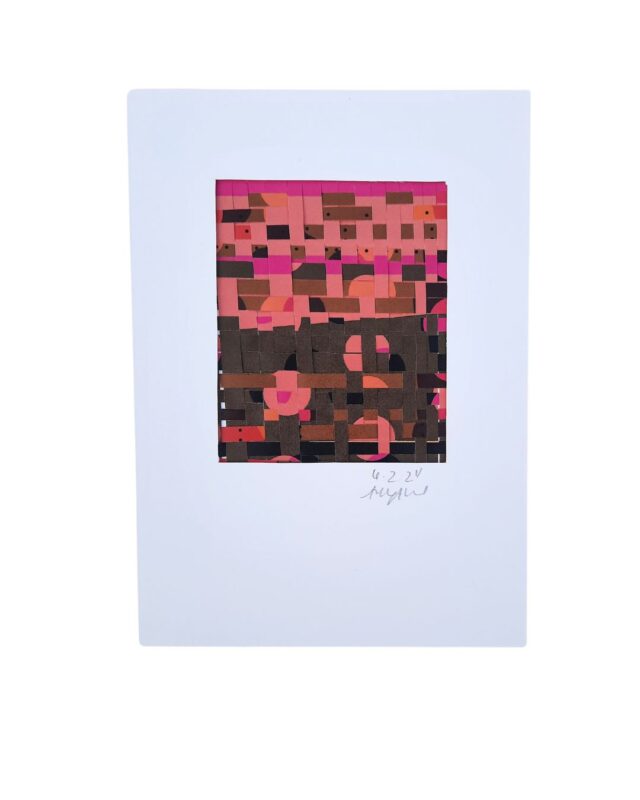
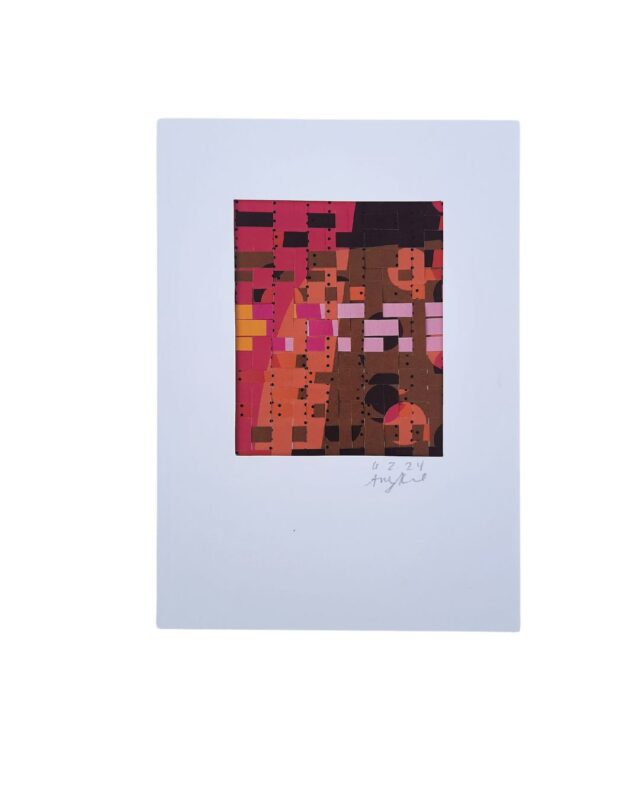
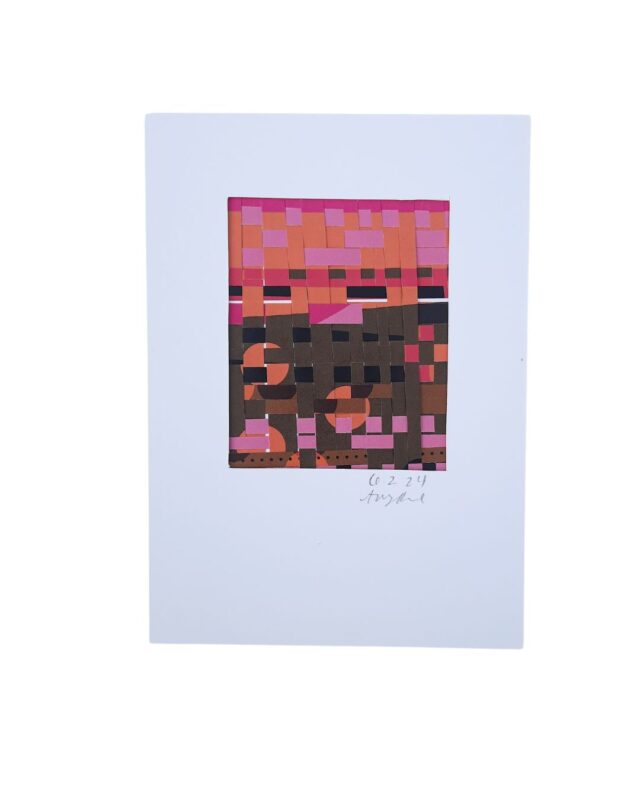
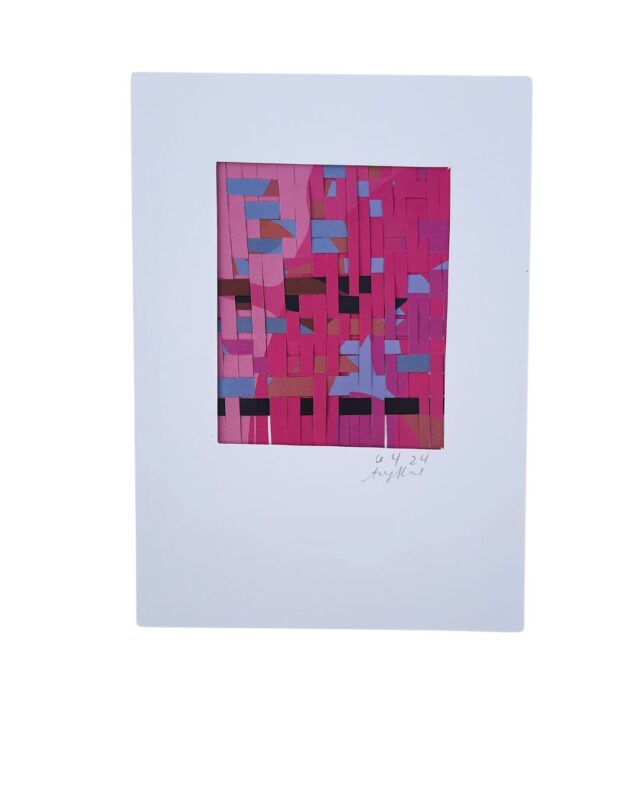
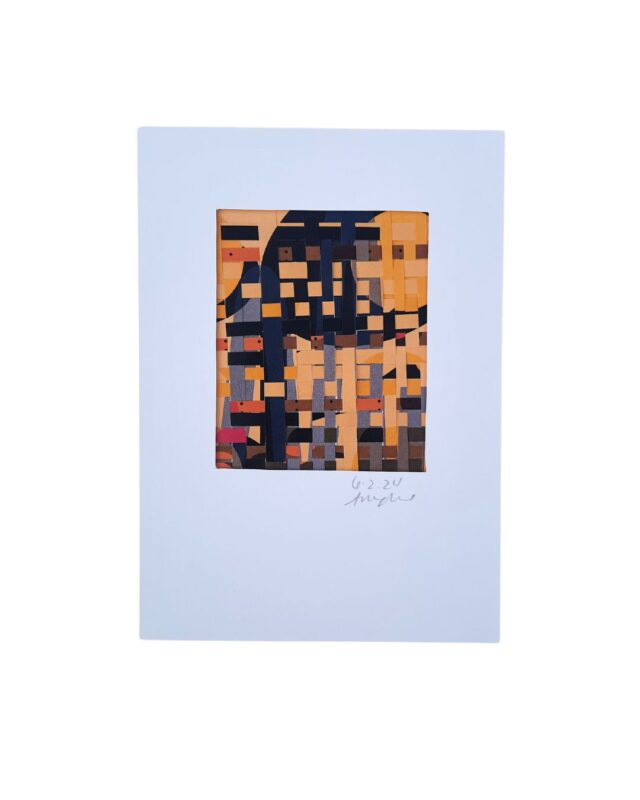
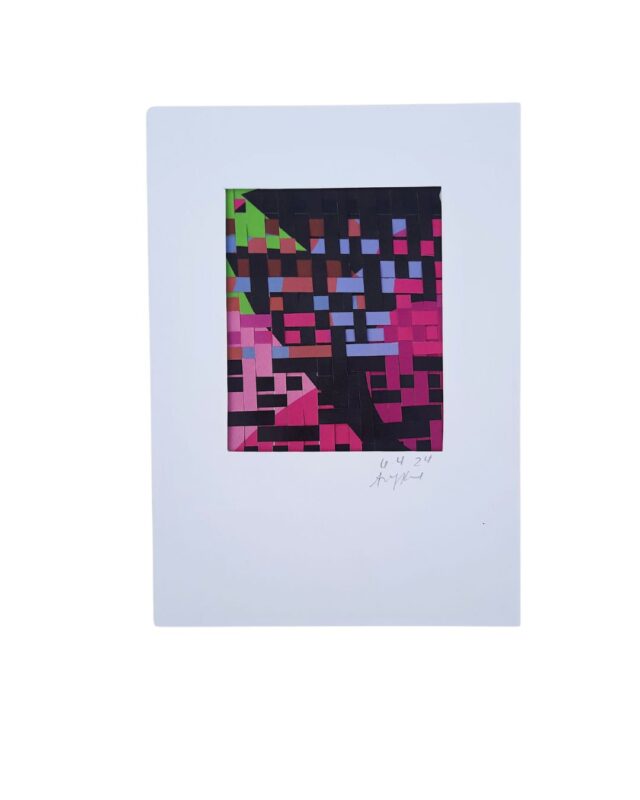
While I created 50 mini weavings, there are only 40 pictured here because I sent a few in the mail before I remembered that I hadn’t photographed them, but you can still see how the work grew and changed. [ This is a friendly reminder to document your work] The rules stayed the same, but the work didn’t. I tried to think about what I liked and didn’t with each piece—finding ways to repeat or reuse what I wanted and avoiding what I didn’t like. I call this the carryover method. With each piece you create, you take ideas and techniques that you love and carry them into the next piece; this helps limit the number of decisions you need to make at any given time and creates a natural progression of your work.
Working within constraints and creating with only things I already had prompted me to look at my surroundings differently. Since I wasn’t allowing myself to buy paper for this project, I looked closely at each piece of mail that arrived and carefully flipped through my piles of saved paper, looking for exciting colors, textures, and patterns; it was a new way to view what is around me every day.
- In the first few pieces, you’ll see that I was doing some different sizes and shapes, eventually setting on one consistent size
- I was playing with the width of the strips, and overall determined that I liked when the strips were thinner, which you can see as the work progresses
- In the beginning I only mounted the pieces and then determined that I really liked how they looked matted instead
- I didn’t do many complex patterns in the beginning, but became more playful and complex as I went. I did always include some tabby weave to help with the overall structure
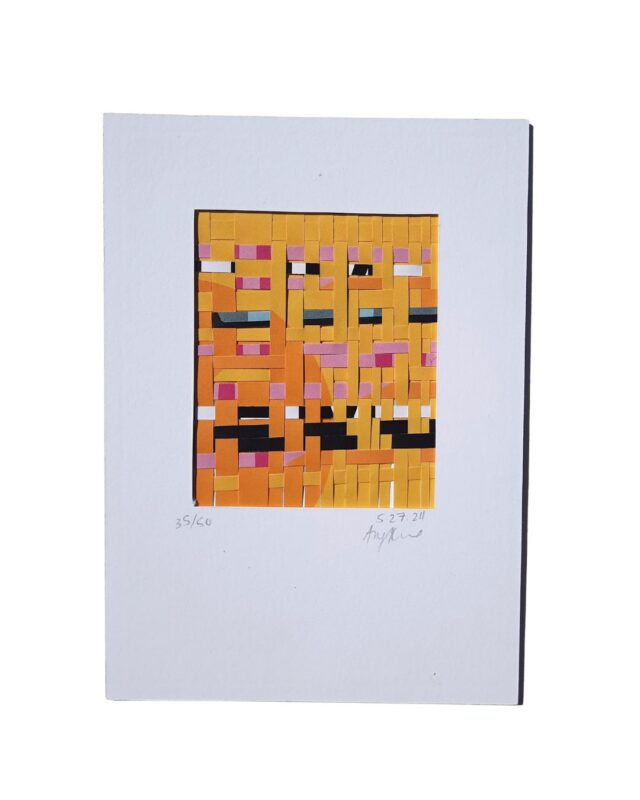
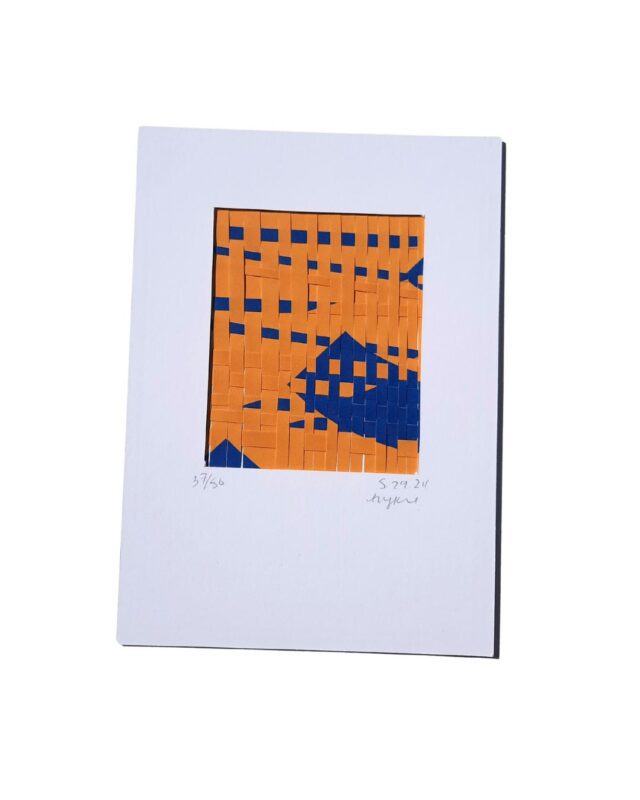
- I was hooked once I started using some of the illustrations that I created for my book Experiments with Marks, Materials and Meaning, which also started to create mini color series, as I would use one full page, before moving onto the next. I really enjoyed seeing the slow change and learning how the patterns interacted.
For those of you teaching or taking AP Art, this is a perfect example of processes, and I could add in photos of the pages before I cut them apart, as well as photos that included the strips.
I’m having fun, so will continue this work. If you were doing something similar here are ideas as to how you could take this farther.
- Explore size, making items bigger and understanding how that impacts the work
- Use the mini weaving as a reference image and paint or use color pencil to create a larger abstract image
- I’m interested in each of these as a patch on a quilt, I’m not sure what that means yet, but will continue to explore
- My favorite pieces are those done from illustrations that I created, so I could do some and get them printed on larger sheets
Paper weaving is great for a wide range of ages as you can make it VERY simple, or extremely complex by adjusting the following:
- Strip Width: wider usually equals easier
- Number of Warps: Less warps usually equals easier
- Pattern: Stick to an over . under.over.under pattern if you’re just getting started
- Paper Size: 8″X10″ or a half sheet is the easiest as it allows for wider strips. Smaller will force more refined motor skills, and even larger can be hard to handle.
Pair with The Weaving Book this book also comes in Spanish
For a limited time, shop these designs